Friday, 3 January 2020

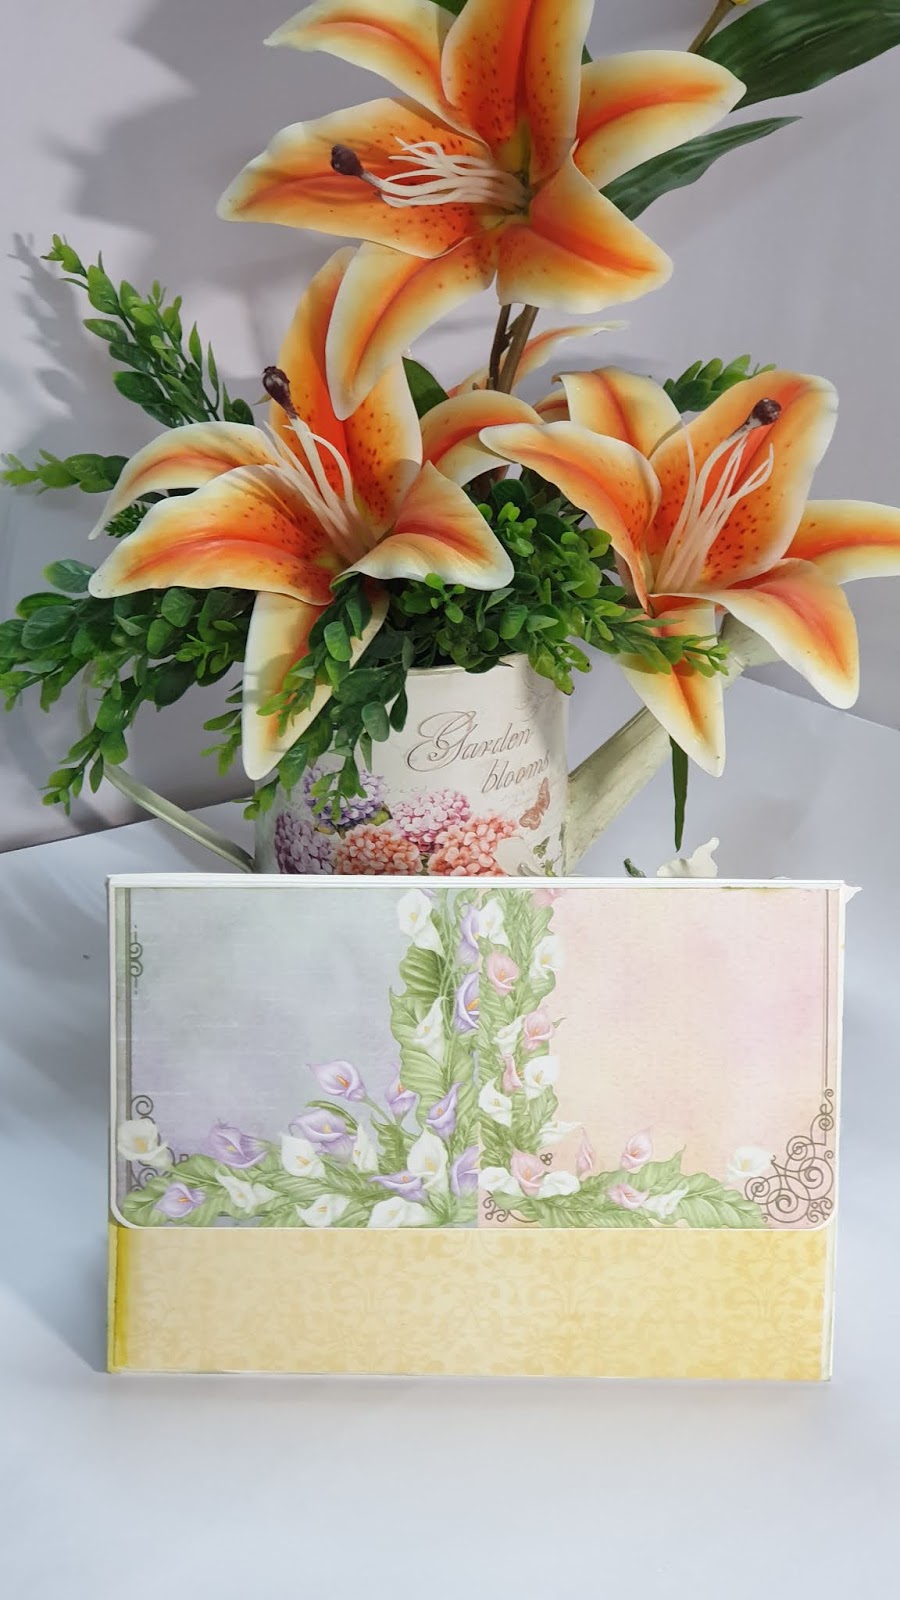
Calla Lily Booklet Desk Calendar 2020

Calla Lily Booklet Desk Calendar 2020!


Hi Friends!!
Happy New Year! I have a creative idea for you. This is my first project for year 2020
Calla Lily Desk calendar 2020.  This project is perfect as a gift or a piece of home decor it's up to you!

Heartfelt Creations crafters say:

"Heartfelt Creations cards are amazing... fabulous stamps, dies and the best ever flowers using the shaping kit. Also the paper pads are many with fabulous prints for all occasions" - Bev Code

These are the supplies I used. 

Heartfelt Creations Products:


Inks: Archival ink- Library Green, Vibrant Fuchsia, Leaf green, Jet Black
Distress ink Peeled Paint, Memento Bamboo leave,

Other Products: White Dress My Craft Floral Oriental Collection Paper, golden mirror sheet, Score-Board, DMC Satin twine, wire, magnets, pollen,

For more tips on creating with the Calla Lily Collection watch the tutorial at https://youtu.be/VWKPoXjpiug.

For more tips on creating with the booklet frame dies, watch the tutorial at https://youtu.be/kJO5LdNFxgE.


products can buy from USA HEARTFELT CREATIONS
Products can buy in INDIA CRAFTERS CORNER


Instruction:
Size of calendar is 8-1/4” by 6”
The most important is for it base cardstock I used 2 A4 sheets.

Calendar Base: Cardstock 8-1/4" x 11-3/4". Score at 1/2"(this is the hinge), 6-1/2”, 8-1/2", 10-1/2" and fold all 2” score line zig zag. Cut cardstock 8-1/4” by 6”. Adhere the both edges using red tacky tape. Now base is ready.
Take white cardstock 1/8” smaller than base, mat on calendar base. Take 1/8” small pattern paper from the collection distress the edges mat on it with 3D foam tape.

Flowers:  Now stamp Calla Lily flowers on white Dress My Craft Paper Floral oriental paper using Memento Bamboo Leave, cut them with coordinating die and color them with Archival Vibrant Fuchsia and Bamboo leaves both sides. Stamp Leaves with StazOn Olive Green and color with Leaf Green and Memento Bamboo Leaves, cut with coordinating die. For Leaves color them with StazOn Bamboo Leaves on the edges of leaves. Shape them using Calla Lily 3D Shaping Mold. For flowers, twirl them. Adhere the stamen to the lily center using the hot glue gun. Add stamen and Rajni chawala's crystal clear glitter. 

Now Stamp Swan and Calla Lily Spray image from Feathery Swan Cling Stamp Set on white cardstock using archival ink-Jet Black, cut with coordinating die and color it with Zig Clean Color Real Brush Markers. Add crystal clear glitter using dries clear glue.
Now for calendar numbers tiles 0 to 9 die cut and 1, 2, 3 need one more extra. Take two of 1" circles distress the edges, taped magnets in between circles and adhere numbers on it. Print days and months from computer and create like a flag, attach with wire.
Once the Calla Lilies, leaves and all elements are rady, Raindrops On Roses golden die cut make it half from middle and glued on the calendar booklet base. Arrange flowers leaves sprays using hot glue as pictured.
NOW MULTI STYLE CALENDAR IS READY.
Some more views...


Thanks for stopping here.
Hugs
Madhu Bairoliya

Monday, 23 December 2019

ALL OCCASION LANTERN

ALL OCCASION LANTERN  🏮🏮

Hello friends!
Paper lantern and lamps are one of the most creative and elegant ways to decorate your house.You can enhance your decoration by creating a beautiful handmade paper lantern with handmade layered flowers to add a handmade touch to your festive decor.
Heartfelt Creations Products used:

HCD1-7276 Feathery Swan Die

HCPC-3898 Feathery Swan Cling Stamp Set
HCD1-7257 Wild Aster Die
HCPC-3887 Wild Aster Cling Stamp Set
HCD1-7245 Adorn It Pocket Accents Die
HCD1-7214 Ornate Pocket Accents Die
HCD1-7161 Sweetheart Borders Die
Inks: Archival ink- Library Green, sunflower, vibrant fuchsia, fern green, versamark clear embossing ink
OTHER PRODUCTS:
DMC White card stock, white 8mm pearl, glass beads (yellow brown), diamond dust, stamens, peals, hot gluegun, tacky glue,  vellum sheet, snowflakes embossing powder, 

PRODUCTS Store link
IN USA  Heartfelt Creaftions
In India  CRAFTERS CORNER


Take A4 cardstock of size  Score at 3/4" on the all 4 sides. Mark center with pencil.


Align Adorn It Pocket Accents Die along the center score line and cut as shown.
Distress the edges of cut part in A4 cradstock. Cut vellum sheet of size7" by 10" glue from the backside of the cut card stock. Now from front adhere Adorn It Pocket Accents Die cut from where die cut has been taken out. Refer picture. Now cut fringes from top and bottom till scored line. 


Glue both ends of the sheet to give cylindrical shape. Glue top and bottom fringes on circle rings(center hole).


Take 3" by 6" card stock align with Sweetheart Border die cut like picture. Cut fringes from top and adhere it on circle ring which is glued on vellum. Smallest cylindrical is ready.

Now prepare shadow boxes of three different sizes for the lantern head and one for bottom. The shadow boxes are of the sizes  4" by 4" and height 1/2", 3 1/2" by 3 1/2" and height 1/2", 2 1/4" by 2 1/4" and height 1/4". One shadow box for bottom of 4.5" by 4.5" height 1/2".
Stamp the swan from Feathery Swan Cling Stamp Set. Cut with coordinating die. Color with red and yellow color.
Stamp the Wild Asters onto DRESS MY CRAFT FLORAL ORIENTAL PAPER using versamark clear ink. Apply snow flakes embossing powder and heat set. Cut with coordinating die.
Stamp the Asters onto dress my craft FLORAL ORIENTAL PAPER using black archival ink. Cut with coordinating die. Color the petals with sunflower and vibrant fuchsia archival ink.
Turn the flowers face up and using a ball tool, make circles in the center of the flower to curl the petals into an arch shape. Adhere 2 petals together using the clear glue, offsetting the petals to create a fuller flower. Use smallest petals with white pearls for buds. For flower center use pearls, glass beads.

Stamp leaves on Dress My Craft FLORAL ORIENTAL PAPER  with Library Green archival and cut with coordinating dies. Color the leaves using distress Peeled paint and Library on edges. Bring shape to the leaves by using the tools in the 3D flower shaping kit. 
Stamp the leaves from the leafy accents cling stamp set using archival Library green and color using fern green. Cut with coordinating dies. Shape the leaves using the 3D Shaping molds.

Now glue the 2 shadow boxes upside down on the top of the lantern and one upside. Put smallest cylindrical dome on the top. Add flower on pearl for some height.
Glue the flowers and leaves on top of the lantern as shown. Add crystal clear on swan, flowers and leaves using clear glue. Put electric led light in it or Place the lantern on top of a Flame less Candle.

Tip Notice: Before gluing everything please watch video at end because this lantern based on folding system. if you wish, can glue all parts.

Enjoyed more pictures...


Hope you enjoyed the tutorial!
Thanks for stopping by
Hugs  
Madhu Bairoliya


Monday, 9 December 2019

CHRISTMAS PENGUINS!!

Christmas Penguins With Snowy Flowers🎄🐧

Hi Friends!!

Today I am creating snowy flower with a little bit twist. Christmas is around the corner. Are you looking to create something different? Create a christmas card in easy way for your friends and family.


HC Products used:

HCD1-7229 Diamond & Lace Die
HCD1-7246-Fancy-Fold Pocket & Accents Die
HCD1-779-Regal Boarder & Pocket Die
HCDP1-2105Candy Cane Cottage Paper Collection
HCD1-7254 Merry Moments Die
HCD1-7255S season of Glee Die
HCD1-766 sparkling Poinsettia Die
HCD1-7133 Monkeying Around

You can get all product in 
USA  heartfeltcreations.us/shop
INDIA  crafterscorner.in

OTHER PRODUCTS :
White cardstock,  Red cardstock, Deep green cardstock, Berry stamens red and silver, silver crystal stamens, Dress my craft sparkling Dust, clear silicon glue, Red Geranium Archival ink, Distress ink

Instruction: Ready side fold card measures 6”×6”.  Die cut a piece of white card stock using the Diamond & Lace Die and Regal Boarder & Pocket Die. Distress the Diamond & lace die cut with distress ink candid apple and spun sugar and adhere  the die cut on the card base as shown. In rest part adhere any left over piece from pattern paper distress the edges from distressing tool and glue Regal border die cut on it. Now card base is ready.


Flowers Instruction: 
Foe white flower cut 3/4 inch circle, 4pcs from Floral Fold Pocket & Accents die and mist with water do zigzag fold from the bottom and glue all the petals in circle. Add stamens in center. Now white flower is ready.


For red flower cut two sets from Sparkling Poinsettia Die. Apply Red Geranium Archival ink on the edges and in center with dabber. Use a pointed tool from the Deluxe Flower saping kit.Shaping kit to shape the petals. Place the tool at the center of the petal, press down with an even pressure and roll the ball tool to the base of the petal with one stroke.
Adhere 2 sets of same size petals together (For Big flower two petals from medium petals and for small two small petals) and make flowers. using the clear glue, offsetting the petals to create a fuller flower and for center use white and glittery green stamens and make a hole in center of flower and insert stamens. Apply clear glue and add Rajni Chawala Frosting Powder. For more snowy look mix Dress My craft sparkling dust in clear glue and apply with toothpick on edges of the flowers and let it dry. Cut white and deep green leaves using Monkeying Around die.

Arrange all elements in desired manner and glue with hot melted glue and clear glue. Add Penguins die cut from candy cane paper collection on the left crone of card using 3D foam tape. Cut a sentiment from paper collection and hang on the card using rad and white cord as shown.


I hope you like it....
Thanks for stopping by...
Hugs...
Madhu Bairoliya


Saturday, 30 November 2019

MERRY CHRISTMAS!!..Blue Aster

Merry Christmas Blue Aster!🎅🎄

Hey Crafty Folks!!

Good Morning.....


Have you started your Christmas projects yet or are you still looking for inspiration? Are you looking to get a jump start on your Christmas creativity but you have no idea where to begin? step wise tutorial for Booklet card your friends and family will love this Christmas!!

Product used: 

HCPC-3887 Wild Aster Cling Stamp Set
HCD1-7257 Wild Aster Die
HCD1-7119 Classic Border Basics Die
HCD!-7161 Sweet Heart Border Die
HCST1-401 Deluxe Flower Shaping Kit, 
Dress My Craft Floral Oriental Paper
Rajni Chawla's Crystal Clear

 Ink: Manganese Blue, Library Green Archival Ink, Memento Grape Jelly, Distress ink  salty ocean, Peeled Paint, versamark

 OTHER PRODUCTS :
White card stock,  glass beads (yellow brown), diamond dust, pollen, peals, hot gluegun, tackey glue,  satin cord, snowflakes embossing powder,

PRODUCTS Store link 
USA  Heartfelt Creaftions
In India  CRAFTERS CORNER


Let's get crafting together!


Ready card size is 6" x 8 3/4 "
Create Booklet From Border die!


Step 1: Mark center onto 2 pieces of white card stock measure 4x6" and also mark center on basic border die, cut both side with die cutting machine.


 Step 2: Cut decorative borders form classic border basic dies and sweetheart border dies same as shown in picture.


 Step 3: Distress the borders with salty ocean distress ink and adhere both side as Shown in a picture. 


 Step 4: Create own pattern paper (can be use designer paper) using distress peeled paint. Stamp trees and bubbles  from cottage candy cane collection with library green archival ink.


Step 5:  Adhere two more borders from Sweetheart border dies and mat hand created pattern paper onto white booklet base giving 3D look.Now booklet base is ready.

Flower Instruction:


Video Link: For more tips on creating with the Wild Aster Collection watch the tutorial at https://youtu.be/1mriCKqh-Ac


Step 1: Stamp the Wild Asters onto DRESS MY CRAFT FLORAL ORIENTAL PAPER using versamark clear ink. Apply snow flakes embossing powder and heat set. Cut with coordinating die.


 Step 2: Stamp the Asters onto dress my craft FLORAL ORIENTAL PAPER  using Manganese Blue archival ink. Cut with coordinating die.  Color the centers using Memento Grape jelly ink and color the outer petals with Manganese Blue.


Step 3: For buds color petals from back with blue and grapes jelly too.
For more tips on creating with the Wild Aster Collection watch the tutorial at https://youtu.be/1mriCKqh-Ac


 Step 4:  Dip petals in water for 3 to 4 seconds and semi dry on tissue or any cotton cloth.


 Step 5: Use a ball tool from the Deluxe Flower Shaping kit to shape the petals. Place the tool at the outer edge of the petal, press down with an even pressure and roll the ball tool to the base of the petal with one stroke.


Step 6: Stamp leaves on Dress My Craft FLORAL ORIENTAL PAPER  with Library Green archival and cut with coordinating dies. Color the leaves using distress Peeled paint and Library on edges. Bring shape to the leaves by using the tools in the 3D flower shaping kit. 


Step 7: Turn the flowers face up and using a ball tool, make circles in the centre of the flower to curl the petals into an arch shape. Adhere 2 sets of same size petals together using the clear glue, offsetting the petals to create a fuller flower. 


Step 8:  For flower center use pearls, glass beads, pollen. Make buds with Wild Aster"s smalle die cut. 
 White card base is measure 6"x8.75" top fold card. Mat another white card stock 5.5" x 7.5" on it. Mat designer paper 1/8" smaller. Now adhere ready booklet frame.


Step 9: 
Position the flowers and leaves onto the card base and secure using hot glue.
Hang sentiment from paper collection.


Thanks for stopping by
Hugs 
Madhu Biaroliya