Thursday 23 January 2020

Happy Anniversary window scene

Happy Anniversary Window scene

Other Products: white card stock, Gold mirror cardstock, purple card stock, vellum sheet, Purple Tinsel embossing powder, hot glue, glue dot,Inks: Archival - Leaf Green, Majestic violet, Cactus Flower, Stazon Ink Olive Green, Distress wilted violet, Versamark water ink pad.

For more tips on creating with the Window Scene cards & dies, watch the tutorial at https://youtu.be/LnM95GR92ao.

Instruction: Ready side fold card size is 6" x6". Take 12"x 6" white card stock, score at 6" from longer side and fold. Set eyelet die from Rounded Eyelet window die extending over the top of the fold of the card base. Run the card through die cutting machine so when the card is opened it will still be intact. For window in front panel using 2nd and 3rd doily from Rounded Window Frame die and 2 more frame from golden and purple card stock using same set as pictured. Now Distress the card base with majestic violet and adhere golden window frame die cut with foam tape. cut one vellum round die cut bigger than center window stamp sentiment with varsamark water ink and add Purple Tinsel embossing powder, heat set. Adhere on window frame from back, glue purple window frame die cut on vellum as pictued. Adhere one window scene pattern paper from collection inside of the card with white outline all sides. As pictured.
For Flowers, stamp tulip flowers using cactus flower ink on white flower paper and cut with coordinating die. Sponge flowers using majestic Violet ink and cactus flower ink. Shape flowers using groove tool and layer it. 3 layers for one flower. Add Rock Candy stamens small to the center of flowers. Stamp Cheery Pansy leaves and leafy accents leaves using StazOn Olive Green ink on flowers paper. Cut with coordinating die and paint with leaf green archival, olive green stazOn, cactus flower archival for little bit red tone. Shape leaves using shaping mold.  Glue flowers and leaves on card using hot melted glue.  For finished look apply glitter on flowers using glue that dries clear.
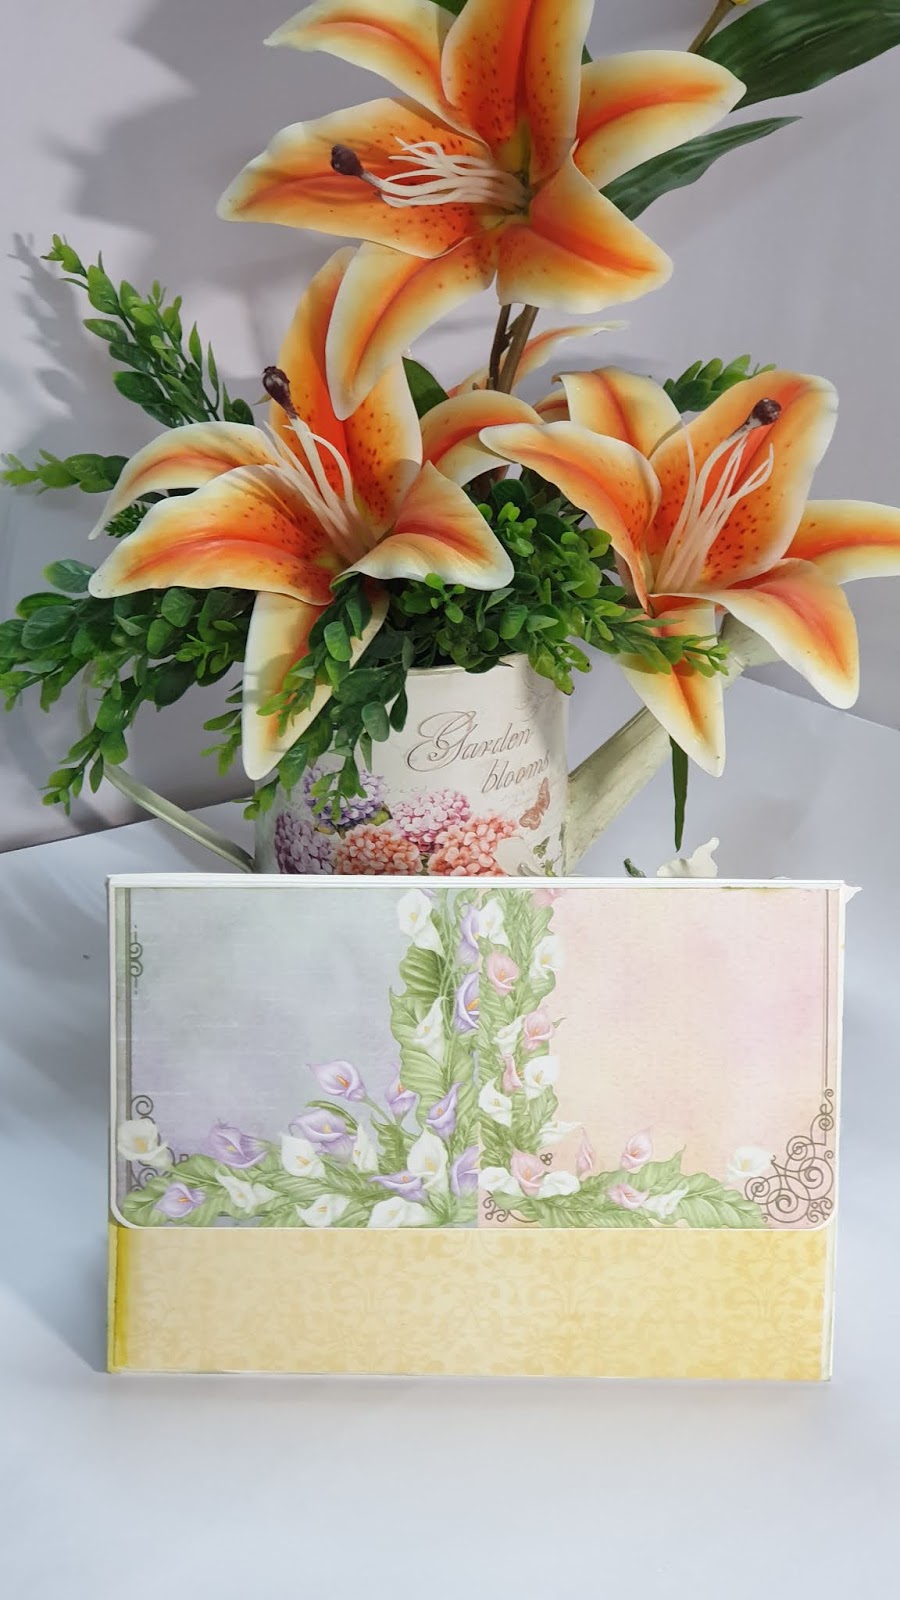
Some more pictures...


Thanks for stopping by
Hugs 
Madhu Bairoliya


Tuesday 21 January 2020

Merry Christmas Shaker Card

Merry Christmas Shaker Card!🎅🎄

Hello Friends!!!
I have created some Christmas card but due to some reason could not publish my blog.
Here I am sharing tutorial for shaker card with vellum flowers.


 HC Products Has been used from Heartfelt Creations:

Leafy Accents DieHCD1-7193

You can get all products in 


OTHER PRODUCTS:  white cardstock, vellum sheet, shaker fillings(sequences, micro pearls),
White Heat Embossing Powder,  
Inks:  versamark watermark ink, Distress oxide Mermaid lagoon, candid apple, pealed paint, 

Instructions: Cut a piece of white cardstock at 12” x 6”, score at 6” along the long side and fold to create a 6” x 6” top fold card. Take 1/8” small pattern paper. Die cut the circle out of the center from the pattern paper with the Circle Basics die set. Stamp Merry Christmas sentiment from heartfelt stamp set onto circle piece. Cut a piece of acetate that is large enough to cover the gap in the circle frame. Use glue to fix this into place on the underside of the frame. Now glue acetate sheet on pattern from back. Glue 3D foam on circle cutout . Add shaker elements and adhere pattern paper on it. Add micro white pearl top of the window using glossy accent. see card picture. Now mat it on card base with 3D foam tape.
Stamp a couple of Poinsettias flowers and leaves using Christmas Poinsettia and Holly Cling Stamp Set and Leafy acAent stamp using versamark watermark stamp pad on Vellum sheet and sprinkle white heat embossing powder, dust extras and heat set the powder using a heat tool. Color the Poinsettias using Mermaid Lagoon Distress Oxide ink and candid apple, leaves with pealed paint and cut them using their coordinating die. Shape all the flowers on the pocking tool. Glue 2 same size petals to form beautiful Christmas Poinsettias and add white and golden flower center to the center using an adhesive that dries clear.
Once all the elements are ready, assemble the card as shown and complete the card by hanging sentiment tag cut from the paper collection and add sequences and red micro beads for a more festive look.
Here are some more pics....


Thanks for stopping by
Hugs
Madhu Bairoliya


Thinking Of You!!!...Bendi Card

Thinking Of You!!!....Bendi Card

Hello Crafty friends!!!

Today I would love to share a Thinking of you!!! Bendy Card which I made with Heartfelt Creations Collection This is my first bendi card. It was really fun!!!


Here is my card:
Heartfelt Creations Products has been used:
Tweet Cherry Blossoms Die, HCD1-7230
Cherry Blossom Retreat Cling Stamp Set, HCPC-3867

Cherry Blossom Retreat Die, HCD1-7231
Woody Landscape Die, HCD1-7122
Woody Treescape Stamp, HCPC-3766

PRODUCTS Store link:
IN USA Heartfelt Creations
In India  CRAFTERS CORNER

Other Products: White card stock, water color pencils, scoring board, die cutting machine, stamens, nail art pink mini micro beads, handmade water droplets, satin twine
Inks: Spun Sugar and worn lipstick Distress ink, Archival Jet Black
For more tips on creating with the Cherry Blossom Retreat collection, watch the tutorial at https://youtu.be/OaA2da5H-E0.
For more tips on creating with the flower shaping molds, watch the tutorial at https://youtu.be/FSdPL7nXvQE.

Instructions: Bendi card mesure 6” by 7-1/8”
Create a Bendy-Card by following these easy and wonderful instructions by Bibiana, check tutorial here. I alerted the instructions by using the Border Basics die rather than cutting the flaps freehand. Choose a pattern paper from Cherry Blossom Retreat Paper collection and cut it for layering the flaps with deep pink cardstock.
For border I used border punch from Dress My Craft.
Take white card stock ½” smaller than base paper and distress whole paper with spun sugar, worn lipstick and candid apple. Now stamp peony flower from Peony Bud and Blossom Cling Stamp. Mat with deep pink card stock on white card base.
Stamp images from Cherry Blossom cling stamp with Black Archival and cut them with coordinating die, color them with pencil. Shape them with ball tool.
Cut flowers from Christmas Poinsettia & Holly Die. Color center and tip with spun sugar and Shape them with 3D mold. Off set petals and glue flowers together and piercing a hole in the center of each flower and add white and pink thread stamens in center. Apply glitter on it. Stamp trees from Woody Treescape Stamp, cut with coordinating die. Add clear glue on small trees, add micro pearls. Glue trees, flowers and leaves on the card base using hot glue as shown in the pic. Add bird house and hanging sentiment, few birds from cherry blossom. Adhere them on the card using dimensional tape as shown in the pic. Add water droplets with glossy accent. Hot glue twine bows.
Some more close pics:


Thanks for stopping by
Hugs
Madhu Bairoliya


Merry Christmas Peace On Earth!

Merry Christmas Peace on Earth🎅🎄

Hello Friends!!!
Sharing Christmas card with you all which I created for my friend!


Products from Heartfelt Creations:


Leafy Accents Die, HCD1-7193


You can get all product in 


OTHER PRODUCTS:  white cardstock, red card stock, satin twin, glue, red micro pearls.


Inks: Archival Ink Black, Library Green, Leaf Green


Instructions: The ready side-fold cards measure, 6” by 8”. Cut a piece of white cardstock at 12-1/4” x 6”, score at 8” along the long side and fold to create a  top fold card. Take 1/8” small 6” x6” pattern paper. Mat inside of the card base using glue leaving white outline all four sides. Rest white part covering with pattern paper to create pocket inside for tags.
Mat pattern paper on the top of card base with red matting card stock leaving white space all sides. Adhere a half doily cut (glued 2 doilies together for sturdiness) from the white cardstock using Intricate Heart Of Joy Decorative Die. Add glitter on doily using dries clear glue As pictured. Inside the card adhere pattern paper and border die cut using red card stock, add sentiment from collection with 3D foam tape.
Cut Christmas Poinsettias flowers and leaves from paper collection using Christmas Poinsettia & Holy die. Shape all the flowers using 3D Christmas Poinsettia shaping mold. Glue 2 same size petals to form beautiful Christmas Poinsettias and add glden flower center to the center using an adhesive that dries clear. Make leaves using classic rose die and stamp set.
Once all the elements are ready, assemble the card as shown and complete the card by adding sentiment cut from the paper collection with 3D foam tape. Add red micro beads on leaves filler (from my stash) for a more festive look. Mix glitter in white silicon clear glue, add on flower for more wintry look.

Here are some more pics....


Thanks for stopping By
Hugs
Madhu Bairoliya


Tuesday 7 January 2020

Have a Wonderful Day!

Have a Wonderful Day!

Hi Friends!!
Today I'd like to share a simple and quick card.

 Heartfelt Creations Products:


Calla Lily Cling Stamp Set, HCPC-3897
Rajni Chawla's Crystal Clear, PGM15015
Ornate Border and Pocket Die,  HCD1-780


Inks: Archival ink- Library Green, Vibrant Fuchsia, Leaf green, Sun Flower,Jet Black
Distress ink Peeled Paint, Memento Bamboo leave,


Other Products: White cardstock, Satin twine, wire, stamens, Green micro beads, 3D foam tape, 3mm satin ribbon


For more tips on creating with the Calla Lily Collection watch the tutorial at https://youtu.be/VWKPoXjpiug.


products can buy from 
USA HEARTFELT CREATIONS

Instruction : Side fold Ready Card size 4-1/4” by 6-1/4”

Take 8-1/2” by 6-1/4” card stock score at 4-1/4” and fold. Adhere4" by 6" pattern paper from designer paper collection with 3D foam tape. in rest white part glue 3mm satin ribbon. Glue one bow and pearl.


Mat 1” by 4” pattern strip on white cardstock and adhere on base with 3D foam tape. Attach ORNATE BORDER AND POCKETS diecut facing down it pictured.
Flowers:  Now stamp Calla Lily flowers on white Dress My Craft Paper using Memento Bamboo Leave, cut them with coordinating die and color them with Archival sunflower and Leaf green both sides. Stamp Leaves with Stazon Olive Green and color with Leaf Green and Memento Bamboo Leaves and with coordinating die.  When this is done, bring shape to them by using the 3D Calla Lilly mold that comes with the collection, using the shaping tools when needed. Adhere the stamen to the lily center using the hot glue gun.
Adhere it to the card front as shown. Adhere a bow made with satin ribbon on the stem of the bouquet as shown. Adhere few Clear Dew Drops on flowers. 

some more pictures..


Thanks for stopping by
Hugs
Madhu Bairoliya 

instagram

Friday 3 January 2020

Calla Lily Booklet Desk Calendar 2020

Calla Lily Booklet Desk Calendar 2020!


Hi Friends!!
Happy New Year! I have a creative idea for you. This is my first project for year 2020
Calla Lily Desk calendar 2020.  This project is perfect as a gift or a piece of home decor it's up to you!

Heartfelt Creations crafters say:

"Heartfelt Creations cards are amazing... fabulous stamps, dies and the best ever flowers using the shaping kit. Also the paper pads are many with fabulous prints for all occasions" - Bev Code

These are the supplies I used. 

Heartfelt Creations Products:


Inks: Archival ink- Library Green, Vibrant Fuchsia, Leaf green, Jet Black
Distress ink Peeled Paint, Memento Bamboo leave,

Other Products: White Dress My Craft Floral Oriental Collection Paper, golden mirror sheet, Score-Board, DMC Satin twine, wire, magnets, pollen,

For more tips on creating with the Calla Lily Collection watch the tutorial at https://youtu.be/VWKPoXjpiug.

For more tips on creating with the booklet frame dies, watch the tutorial at https://youtu.be/kJO5LdNFxgE.


products can buy from USA HEARTFELT CREATIONS
Products can buy in INDIA CRAFTERS CORNER


Instruction:
Size of calendar is 8-1/4” by 6”
The most important is for it base cardstock I used 2 A4 sheets.

Calendar Base: Cardstock 8-1/4" x 11-3/4". Score at 1/2"(this is the hinge), 6-1/2”, 8-1/2", 10-1/2" and fold all 2” score line zig zag. Cut cardstock 8-1/4” by 6”. Adhere the both edges using red tacky tape. Now base is ready.
Take white cardstock 1/8” smaller than base, mat on calendar base. Take 1/8” small pattern paper from the collection distress the edges mat on it with 3D foam tape.

Flowers:  Now stamp Calla Lily flowers on white Dress My Craft Paper Floral oriental paper using Memento Bamboo Leave, cut them with coordinating die and color them with Archival Vibrant Fuchsia and Bamboo leaves both sides. Stamp Leaves with StazOn Olive Green and color with Leaf Green and Memento Bamboo Leaves, cut with coordinating die. For Leaves color them with StazOn Bamboo Leaves on the edges of leaves. Shape them using Calla Lily 3D Shaping Mold. For flowers, twirl them. Adhere the stamen to the lily center using the hot glue gun. Add stamen and Rajni chawala's crystal clear glitter. 

Now Stamp Swan and Calla Lily Spray image from Feathery Swan Cling Stamp Set on white cardstock using archival ink-Jet Black, cut with coordinating die and color it with Zig Clean Color Real Brush Markers. Add crystal clear glitter using dries clear glue.
Now for calendar numbers tiles 0 to 9 die cut and 1, 2, 3 need one more extra. Take two of 1" circles distress the edges, taped magnets in between circles and adhere numbers on it. Print days and months from computer and create like a flag, attach with wire.
Once the Calla Lilies, leaves and all elements are rady, Raindrops On Roses golden die cut make it half from middle and glued on the calendar booklet base. Arrange flowers leaves sprays using hot glue as pictured.
NOW MULTI STYLE CALENDAR IS READY.
Some more views...


Thanks for stopping here.
Hugs
Madhu Bairoliya