Showing posts with label Calla Lily Collection. Show all posts

Saturday, 8 February 2020

Magnetic Love!

Magnetic Love!💗💗

Hey friends!
Good morning!!

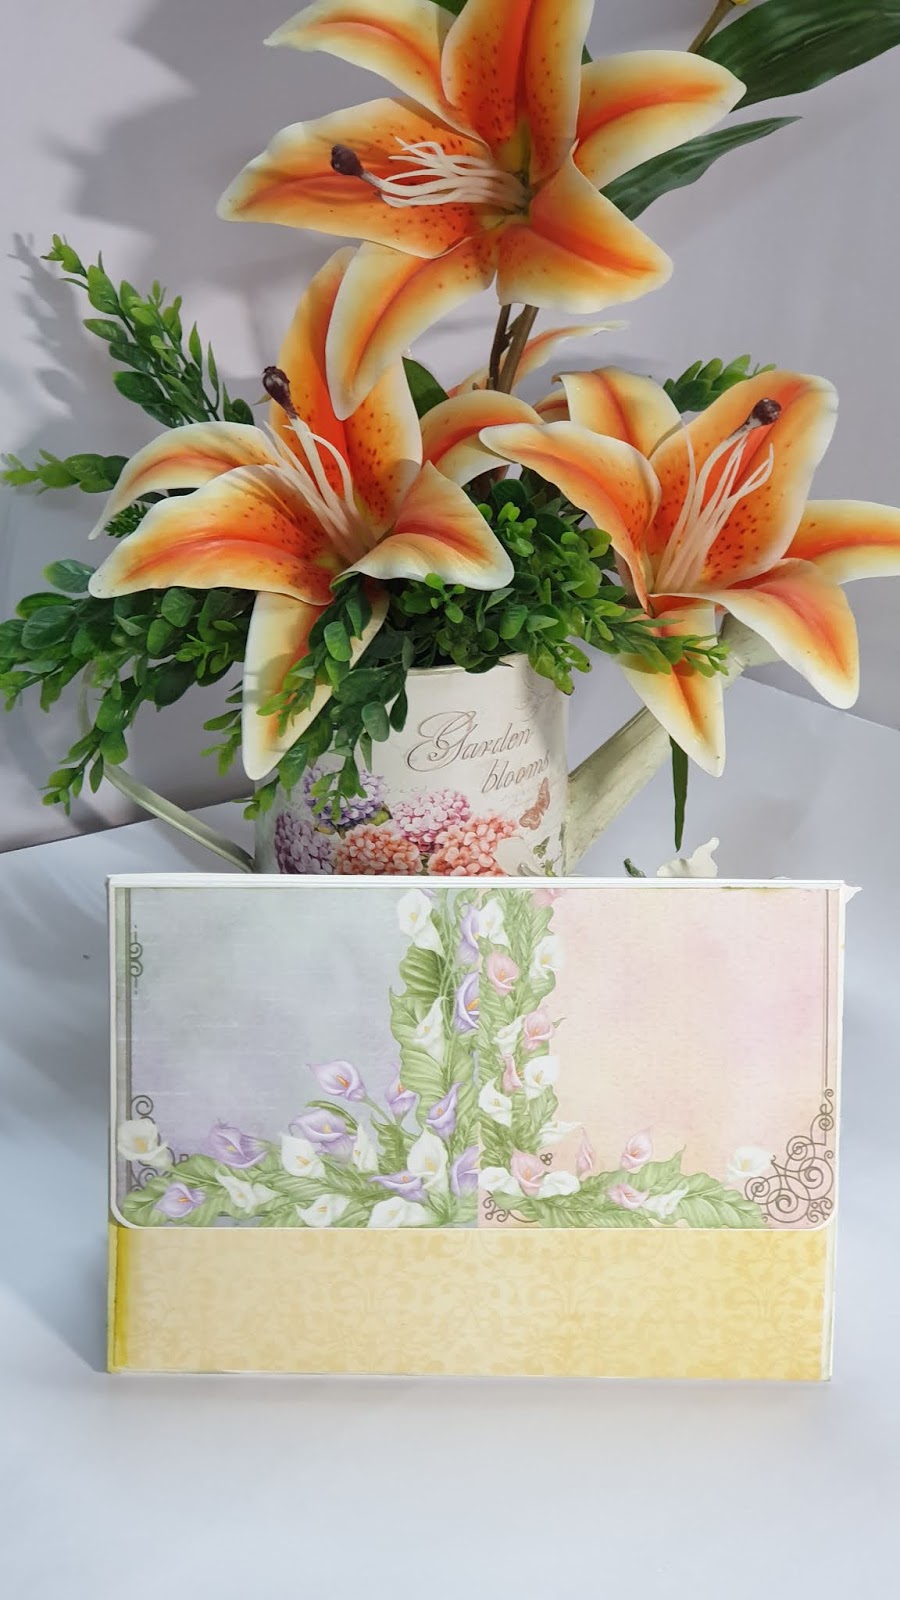
I created shadow box and inside pocket to add tags and photos. I added lots of close up shots of flowers below. Hope you liked.


HC Products has been used:

Window Hinges Die, HCD1-7285
Feathery Swan DieHCD1-7276
Calla Lily DieHCD1-7275

Other products: white cardstock Golden mirror cardstock, 3mm satin ribbon, pearls, glass beads, floral wire, hot glue, dries clear glue,
Inks: Archival (Blue Bird, jet Black, Leaf Green) Memento: Grapes jelly, olive green, zig marker.

You can get all product in 

For more tips on creating with the Window Scene cards & dies, watch the tutorial at https://youtu.be/LnM95GR92ao.
For more tips on creating with the Calla Lily Collection watch the tutorial at https://youtu.be/VWKPoXjpiug.

Instructions: Take 12” x 6” white card stock and score longer side at 6”. Set 6” circle die extending over the top of the folded card. Run the card through die cutting machine so when the card is opened it will still be intact.
Fold top panel in half circle.  Cut one more circle for same card base size. Distress the edges with Bluebird ink. Cut two mats from the heartfelt designer paper collection (one from Calla Lily collection and one from dogwood) using one size small from the Basic circle die. Mat one on circle die cut and one inside the card base. Adhere mated circle on top panel using glue which has been folded in half for easel card. Take Die cuts one from white cardstock and one from gold mirror cardstock using the Rounded Eyelet Window die with decorative pieces and half circle. Glue golden die cut on front of the card and decorative white, distressed with Blue Bird ink, inside the card to create pockets as shown in picture. Glue golden doted stripe on it. Glue magnet and hide with lily image. Glue white half Pearls. Tags or photo pocket is ready as shown. Create one shadow box of 4”x4” and ½ in height. Adhere golden dotted strips on outer side and pattern paper top and inside of the shadow box. Add one magnet on it and hide with Lily image. Cut one doily from Rounded Window Frame Die using 3rd and 4th small decorative dies. Adhere shadow box front of the card and glue Doily back of shadow box as shown. Stamp images from the Feathery Swan set and color with Zig real brush pens. Cut with matching die. Adhere on shadow box using 3D foam tape. Add love sentiment from collection.
Flowers and leaves:  Stamp few Calla Lily using Archival Bluebird for flowers and cut them with coordinating die and color them with same. From back color with Archival Bluebird and Memento Grapes Jelly. Shape them using Calla Lily 3D Shaping Mold and twirl them as shown in picture. For flowers stamens bead white glass beads in wire and turn them in U shape, glue 2 thread stamens with them as pictured.  For buds cut few Calla Lily without stamp and color with Bluebirds, memento Grape Jelly and Leaf Green. Shape and twirl them. Add white thread stamens and white decorative pearl in center. For Leaves stamp with memento Olive Green and color them with archival ink- Leaf Green on the edges and center of leaves. Cut 2 hinges from green and golden cardstock, add magnet in-between. Hot glue two lilies and pearl on it as shown. Add crystal clear using dries clear glue. Now assemble all flowers, leaves, swirl and wired pearls. Add sentiment in shadow box on white square piece with 3D foam tape and magnets using two memento inks Bhrahmi Blue and Grapes Jelly. Add magnet back of the photo which can be easily stick in shadow box. As pictured
Enjoy more pictures bellow...


Hope you liked it.
Thanks for stopping By...
Hugs 
Madhu Bairoliya

Tuesday, 7 January 2020

Have a Wonderful Day!

Have a Wonderful Day!

Hi Friends!!
Today I'd like to share a simple and quick card.

 Heartfelt Creations Products:


Calla Lily Cling Stamp Set, HCPC-3897
Rajni Chawla's Crystal Clear, PGM15015
Ornate Border and Pocket Die,  HCD1-780


Inks: Archival ink- Library Green, Vibrant Fuchsia, Leaf green, Sun Flower,Jet Black
Distress ink Peeled Paint, Memento Bamboo leave,


Other Products: White cardstock, Satin twine, wire, stamens, Green micro beads, 3D foam tape, 3mm satin ribbon


For more tips on creating with the Calla Lily Collection watch the tutorial at https://youtu.be/VWKPoXjpiug.


products can buy from 
USA HEARTFELT CREATIONS

Instruction : Side fold Ready Card size 4-1/4” by 6-1/4”

Take 8-1/2” by 6-1/4” card stock score at 4-1/4” and fold. Adhere4" by 6" pattern paper from designer paper collection with 3D foam tape. in rest white part glue 3mm satin ribbon. Glue one bow and pearl.


Mat 1” by 4” pattern strip on white cardstock and adhere on base with 3D foam tape. Attach ORNATE BORDER AND POCKETS diecut facing down it pictured.
Flowers:  Now stamp Calla Lily flowers on white Dress My Craft Paper using Memento Bamboo Leave, cut them with coordinating die and color them with Archival sunflower and Leaf green both sides. Stamp Leaves with Stazon Olive Green and color with Leaf Green and Memento Bamboo Leaves and with coordinating die.  When this is done, bring shape to them by using the 3D Calla Lilly mold that comes with the collection, using the shaping tools when needed. Adhere the stamen to the lily center using the hot glue gun.
Adhere it to the card front as shown. Adhere a bow made with satin ribbon on the stem of the bouquet as shown. Adhere few Clear Dew Drops on flowers. 

some more pictures..


Thanks for stopping by
Hugs
Madhu Bairoliya 

instagram

Friday, 3 January 2020

Calla Lily Booklet Desk Calendar 2020

Calla Lily Booklet Desk Calendar 2020!


Hi Friends!!
Happy New Year! I have a creative idea for you. This is my first project for year 2020
Calla Lily Desk calendar 2020.  This project is perfect as a gift or a piece of home decor it's up to you!

Heartfelt Creations crafters say:

"Heartfelt Creations cards are amazing... fabulous stamps, dies and the best ever flowers using the shaping kit. Also the paper pads are many with fabulous prints for all occasions" - Bev Code

These are the supplies I used. 

Heartfelt Creations Products:


Inks: Archival ink- Library Green, Vibrant Fuchsia, Leaf green, Jet Black
Distress ink Peeled Paint, Memento Bamboo leave,

Other Products: White Dress My Craft Floral Oriental Collection Paper, golden mirror sheet, Score-Board, DMC Satin twine, wire, magnets, pollen,

For more tips on creating with the Calla Lily Collection watch the tutorial at https://youtu.be/VWKPoXjpiug.

For more tips on creating with the booklet frame dies, watch the tutorial at https://youtu.be/kJO5LdNFxgE.


products can buy from USA HEARTFELT CREATIONS
Products can buy in INDIA CRAFTERS CORNER


Instruction:
Size of calendar is 8-1/4” by 6”
The most important is for it base cardstock I used 2 A4 sheets.

Calendar Base: Cardstock 8-1/4" x 11-3/4". Score at 1/2"(this is the hinge), 6-1/2”, 8-1/2", 10-1/2" and fold all 2” score line zig zag. Cut cardstock 8-1/4” by 6”. Adhere the both edges using red tacky tape. Now base is ready.
Take white cardstock 1/8” smaller than base, mat on calendar base. Take 1/8” small pattern paper from the collection distress the edges mat on it with 3D foam tape.

Flowers:  Now stamp Calla Lily flowers on white Dress My Craft Paper Floral oriental paper using Memento Bamboo Leave, cut them with coordinating die and color them with Archival Vibrant Fuchsia and Bamboo leaves both sides. Stamp Leaves with StazOn Olive Green and color with Leaf Green and Memento Bamboo Leaves, cut with coordinating die. For Leaves color them with StazOn Bamboo Leaves on the edges of leaves. Shape them using Calla Lily 3D Shaping Mold. For flowers, twirl them. Adhere the stamen to the lily center using the hot glue gun. Add stamen and Rajni chawala's crystal clear glitter. 

Now Stamp Swan and Calla Lily Spray image from Feathery Swan Cling Stamp Set on white cardstock using archival ink-Jet Black, cut with coordinating die and color it with Zig Clean Color Real Brush Markers. Add crystal clear glitter using dries clear glue.
Now for calendar numbers tiles 0 to 9 die cut and 1, 2, 3 need one more extra. Take two of 1" circles distress the edges, taped magnets in between circles and adhere numbers on it. Print days and months from computer and create like a flag, attach with wire.
Once the Calla Lilies, leaves and all elements are rady, Raindrops On Roses golden die cut make it half from middle and glued on the calendar booklet base. Arrange flowers leaves sprays using hot glue as pictured.
NOW MULTI STYLE CALENDAR IS READY.
Some more views...


Thanks for stopping here.
Hugs
Madhu Bairoliya