Friday, 1 March 2019

Monochrome Love

Mono Chrome Love!

Hello crafty people!


I hope you all are doing well.
This is Madhu Bairoliya 
Today i brought monochromatic card
  1. Take a white card stock & create a background using shimmer paste Cupcake from craftyscrappers.in using stencil diagonal stripes.
  2. For mono-chroming the color apply distress ink spun sugar and raspberry.
  3. Matting with pink and white card stock.
  4. Now make one triangle pocket for holding the tag.
  5. Make one tag and embossed with sizzex embossing folder. Now apply ink on that with ink pad 
  6.  Adhere triangle pocket on ready card base.
  7. Arrange leaves from heartfelt creations and  my handmade flowers with help of hot glue.


This is all from my side

I hope you liked this project.
Do let me know how you like this project in the comments below.Until then Happy Crafting 🙂  
Hugs💟💟

Madhu Bairoliya

https://www.instagram.com/madhu.bairoliya/
https://www.facebook.com/craftplanet1/?ref=bookmarks


Thursday, 28 February 2019

YOU MADE MY LIFE BEAUTIFUL

"YOU MADE MY LIFE BEAUTIFUL"

Hello crafty friends!!!!
Today i am with valentine card 


I have taken card base 6x5.5
Take white card stock 6x11 and score at 5.5
 Distress with picked raspberry distress oxide all four sides. Take gray card stock smaller than white base distress with black shoot.adhere it on white base.


Take white card stock half inch smaller than gray card stock and distress the edges with scissor or distressing tool. take one more gray card stock smaller than it  
Use shimmer paste with heart craftyscrappers stencil.
distress the edges with black shoot. Adhere it on white cardstock


stamped image from my stash color with any water color medium pen fussy cut  adhere with dimensional tape for 3D look. Stamp sentiments fussy cut and adhere it.

I hope you liked this project.
Do let me know how you like this project in the comments below.Until then Happy Crafting 🙂

Hugs
Madhu Bairoliya


Saturday, 23 February 2019

Spiral burst You & Me card

             Hello crafty people!

Hello crafty people!
I hope you all are doing well.
This is Madhu Bairoliya Creative Designer at craftyscrappers
and today I am here with my inspiration post for our ongoing challenge…

CHALLENGE #28 ALL YOU NEED IS – LOVE

 So here is my creation:


                                         A brief tutorial:

  1. Take a white card stock set spiral-sunburst
    stencil on paper & create a background using “ink blending
    technique” 
  2. First blend TUMBLES GLASS on the craftyscrappers sunburst stencil  and then for deep shade blend MERMAID LAGOON.
  3. For second colour first wipe the stencil and reverse it
    and blend SEEDLESS PRESERVES distress ink .  
  4. Stamp the couple image from the stamp set YOU AND ME  Color & fussy cut it. 
  5. stamp the sentiment  on the created background sheet using versamark ink and add black embossing powder & heat set the same.
  6. Add  little hearts  to add some more interest to it. 
  7. Apply some shimmer  paste with brush back of the boy head and on colored rose.
  8. Adhere the couple image using dimensional
    tape (foam tape) & do the same for small Darling sentiment 
  9. And the card is ready.   
                                                          
                                                                     Here are some close-ups:


            This is all from my side. 

I hope you liked this project.
Do let me know how you like this project in the comments below.Until then Happy Crafting 🙂
Don’t forget to join in  craft challenges

You can  participate via Facebook, Instagram and even via email.
(While sharing your creation post over the social media, ie
Facebook/twitter/Instagram
please use #Craftyscrapperschallenge28 to qualify for submission,
failing to do so, the entry would be disqualified.) 

Thanks for stopping by.

Have a crafty day ahead !                           

Tuesday, 5 February 2019

Cards and Altered Art

Cards and Altered Art

FUN TO MAKE PROJECTS FOR

 Hey there crafty people 🙂 
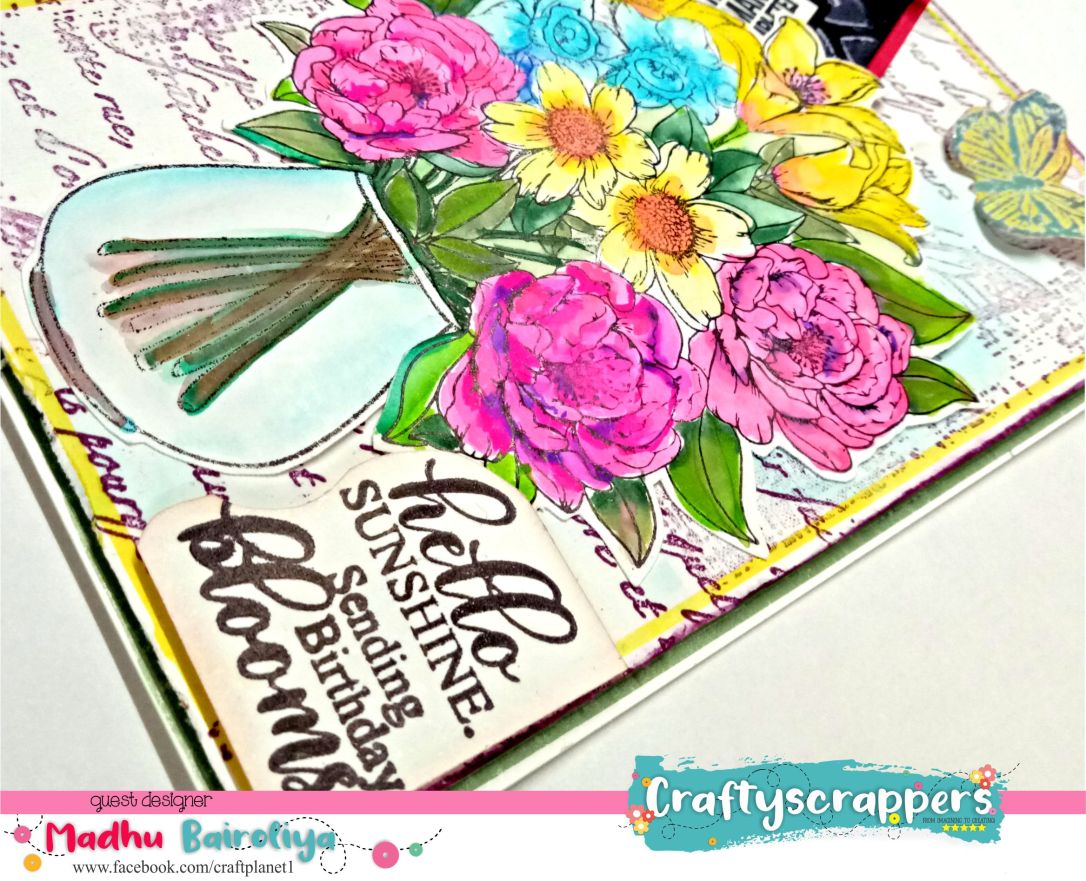
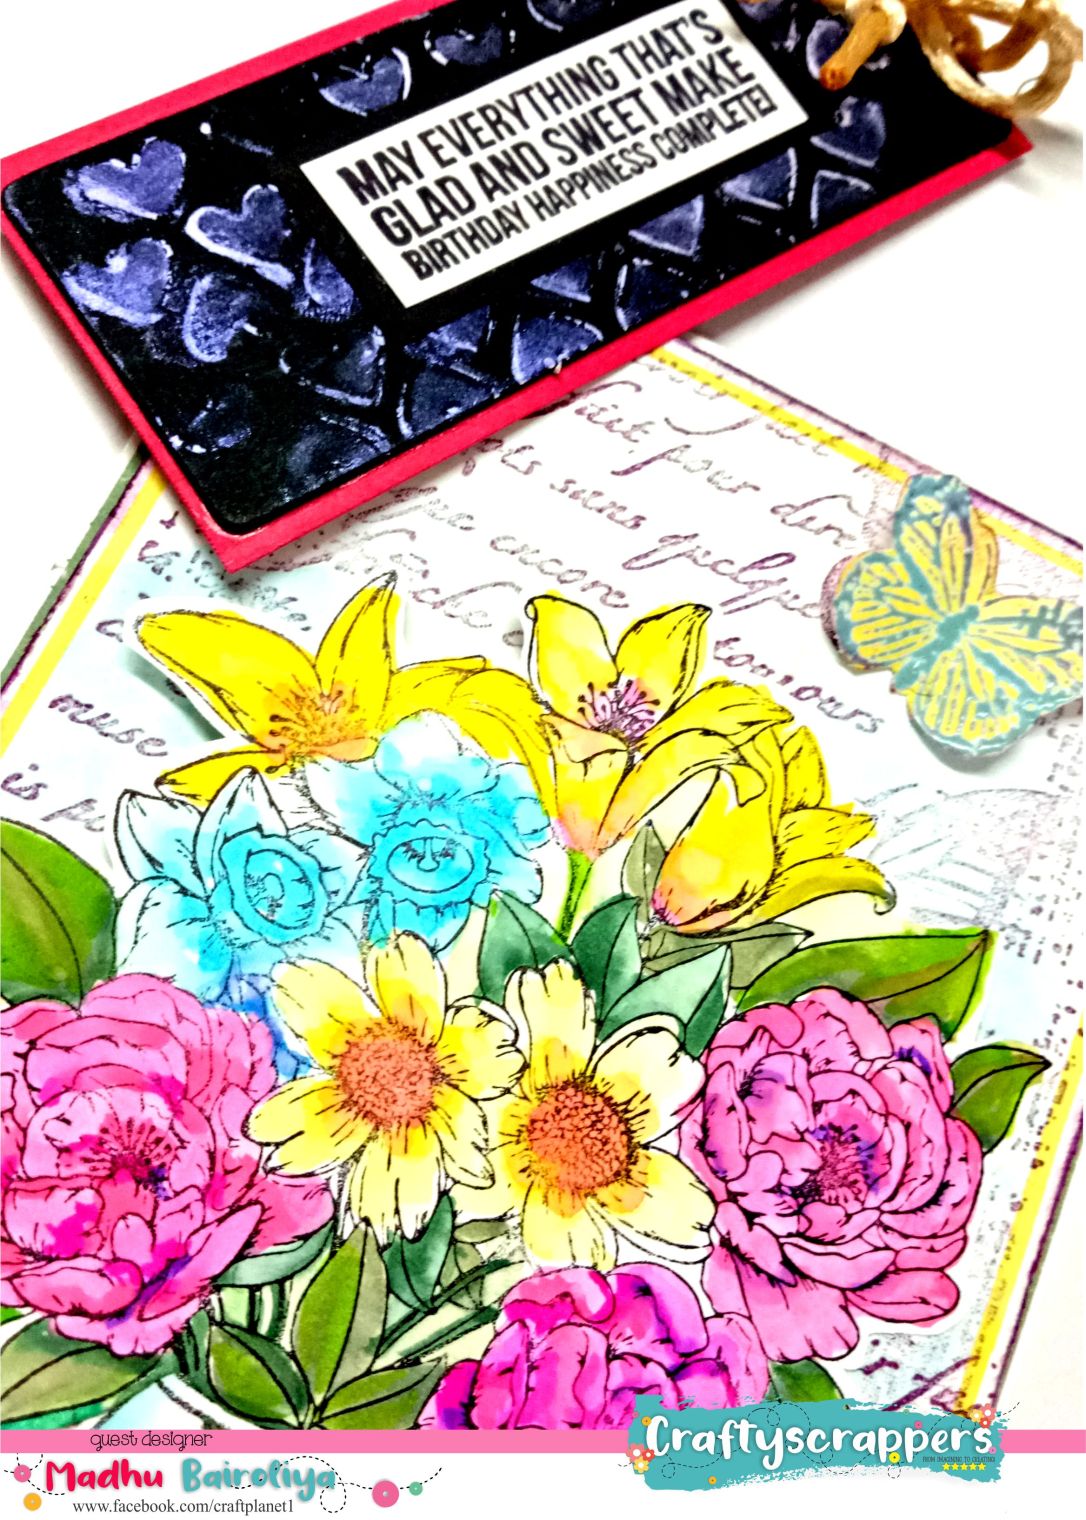
This is Madhu and today I’m here as a Guest designer to share three easy and fun projects with you all. 
We all know that @craftyscrappers always come up with high quality clear stamps which has unique designs with so many possibilities and with just one single stamp set, there are endless possibilities to use them to create numerous cards and crafts.
These designs are so perfect, that you can use them in cardmaking or mixed media creations or even scrapbooks and tags.

guest designer final watermark.jpg


final 3.jpg
CLOSEUP2.jpg
IMG20181020112746.jpg
IMG20181016131116.jpg


IMG20181016131134.jpg


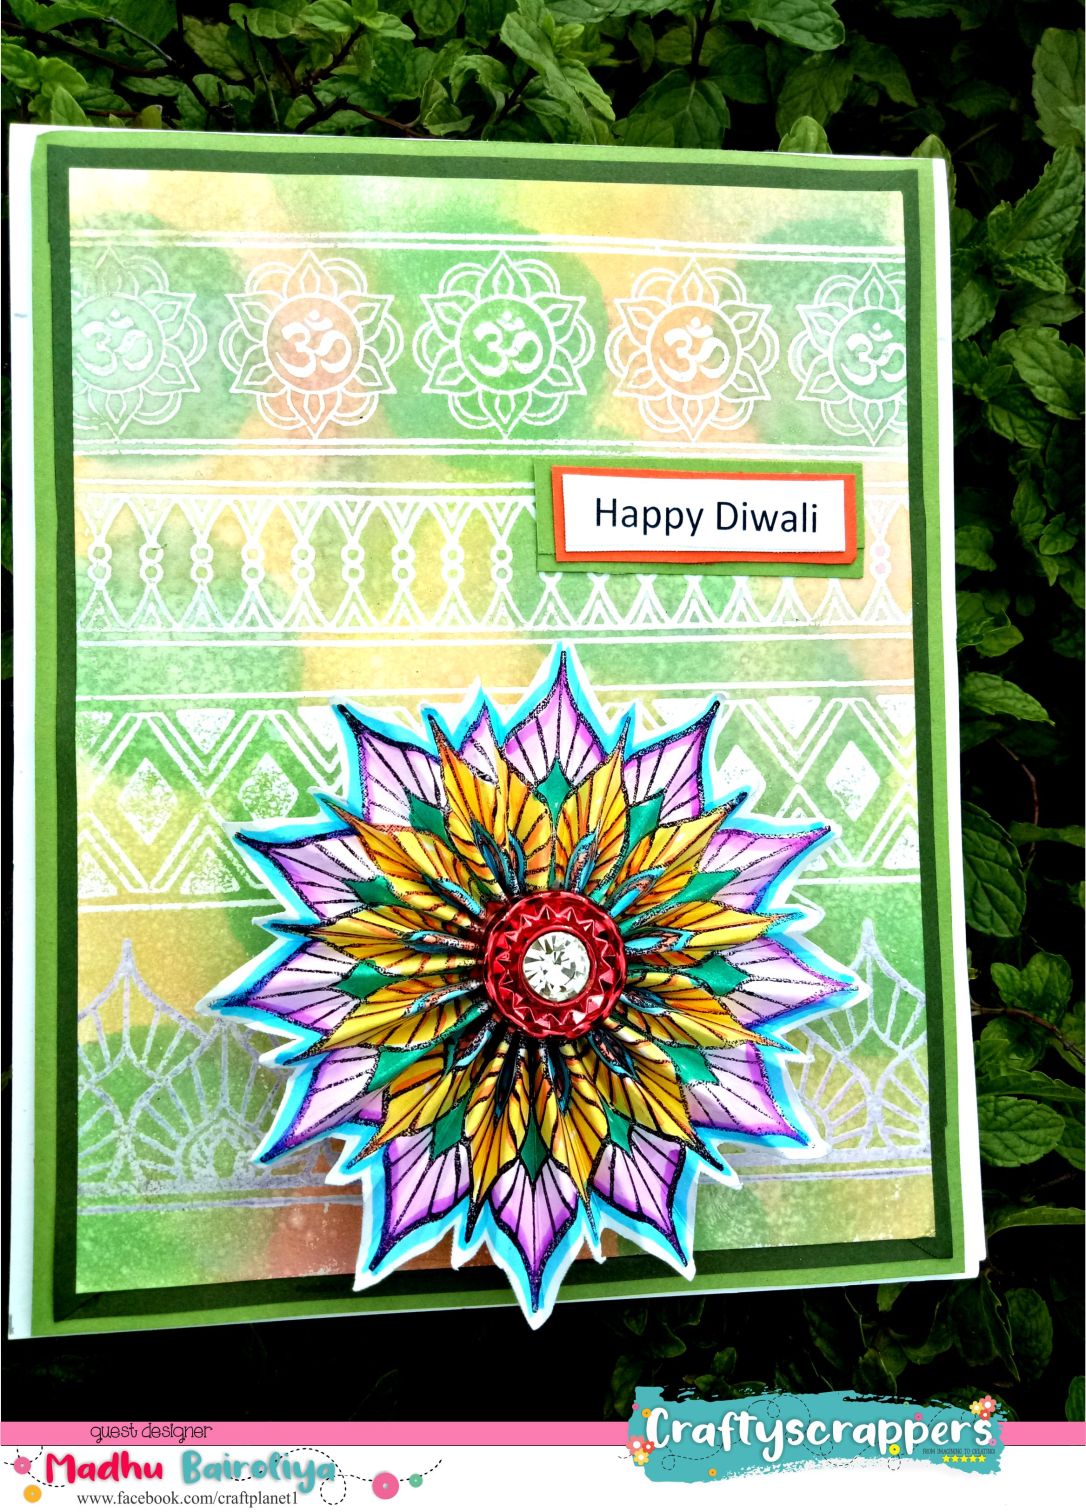
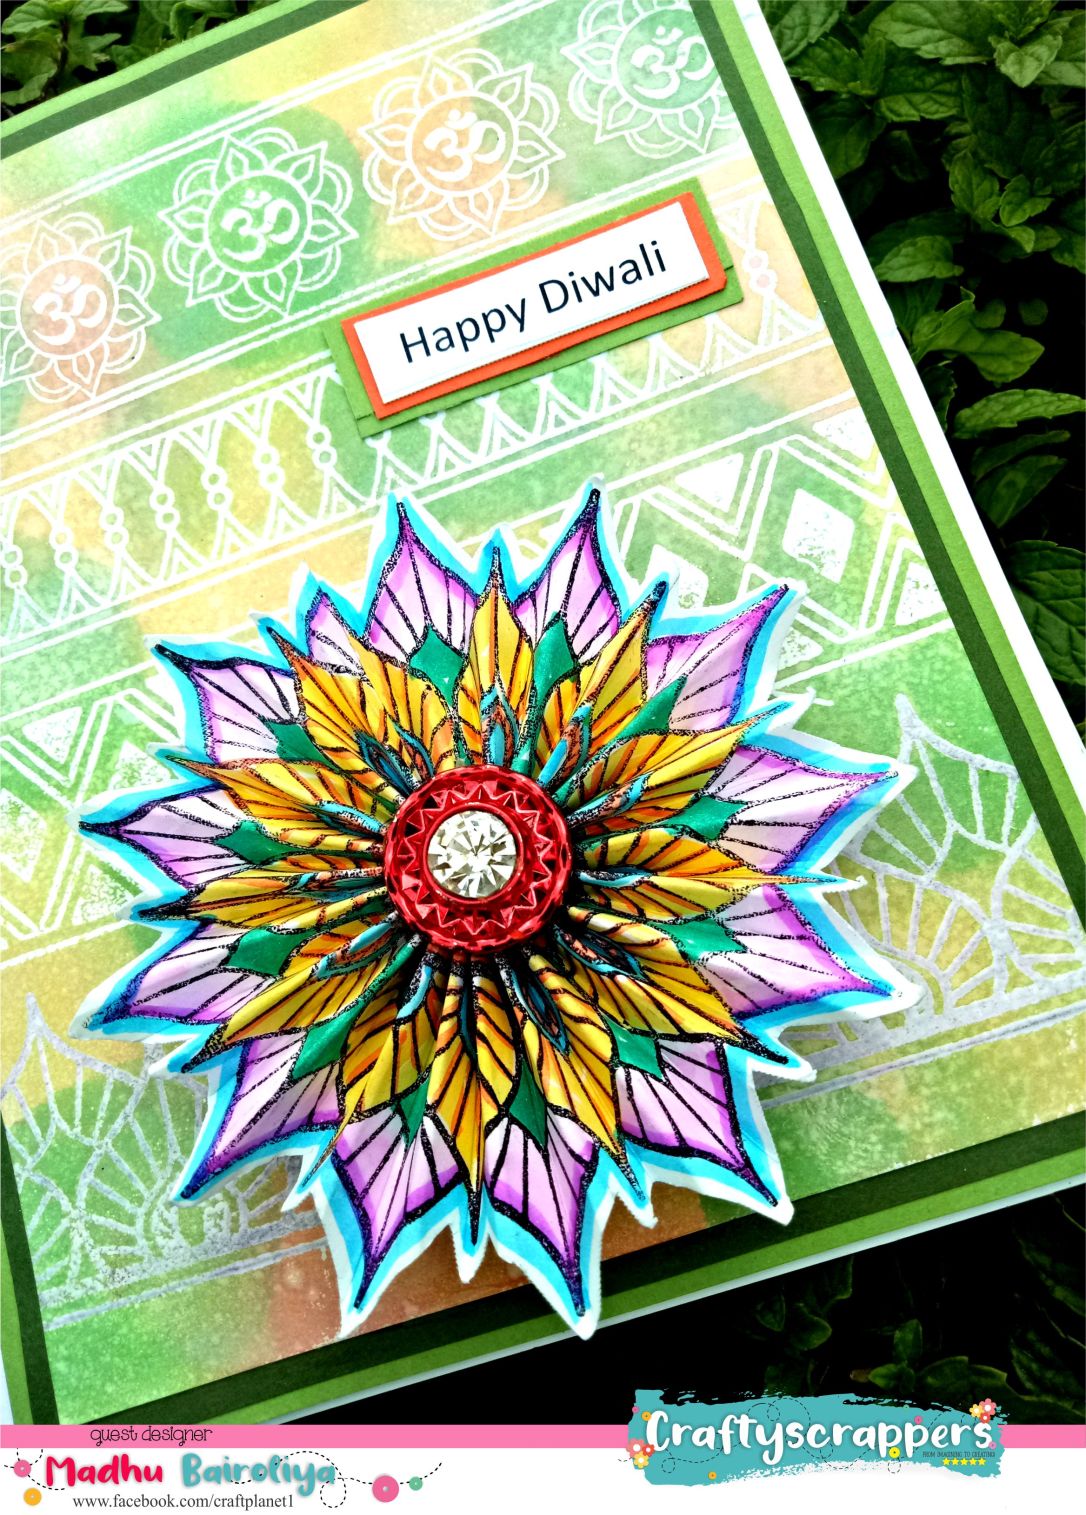
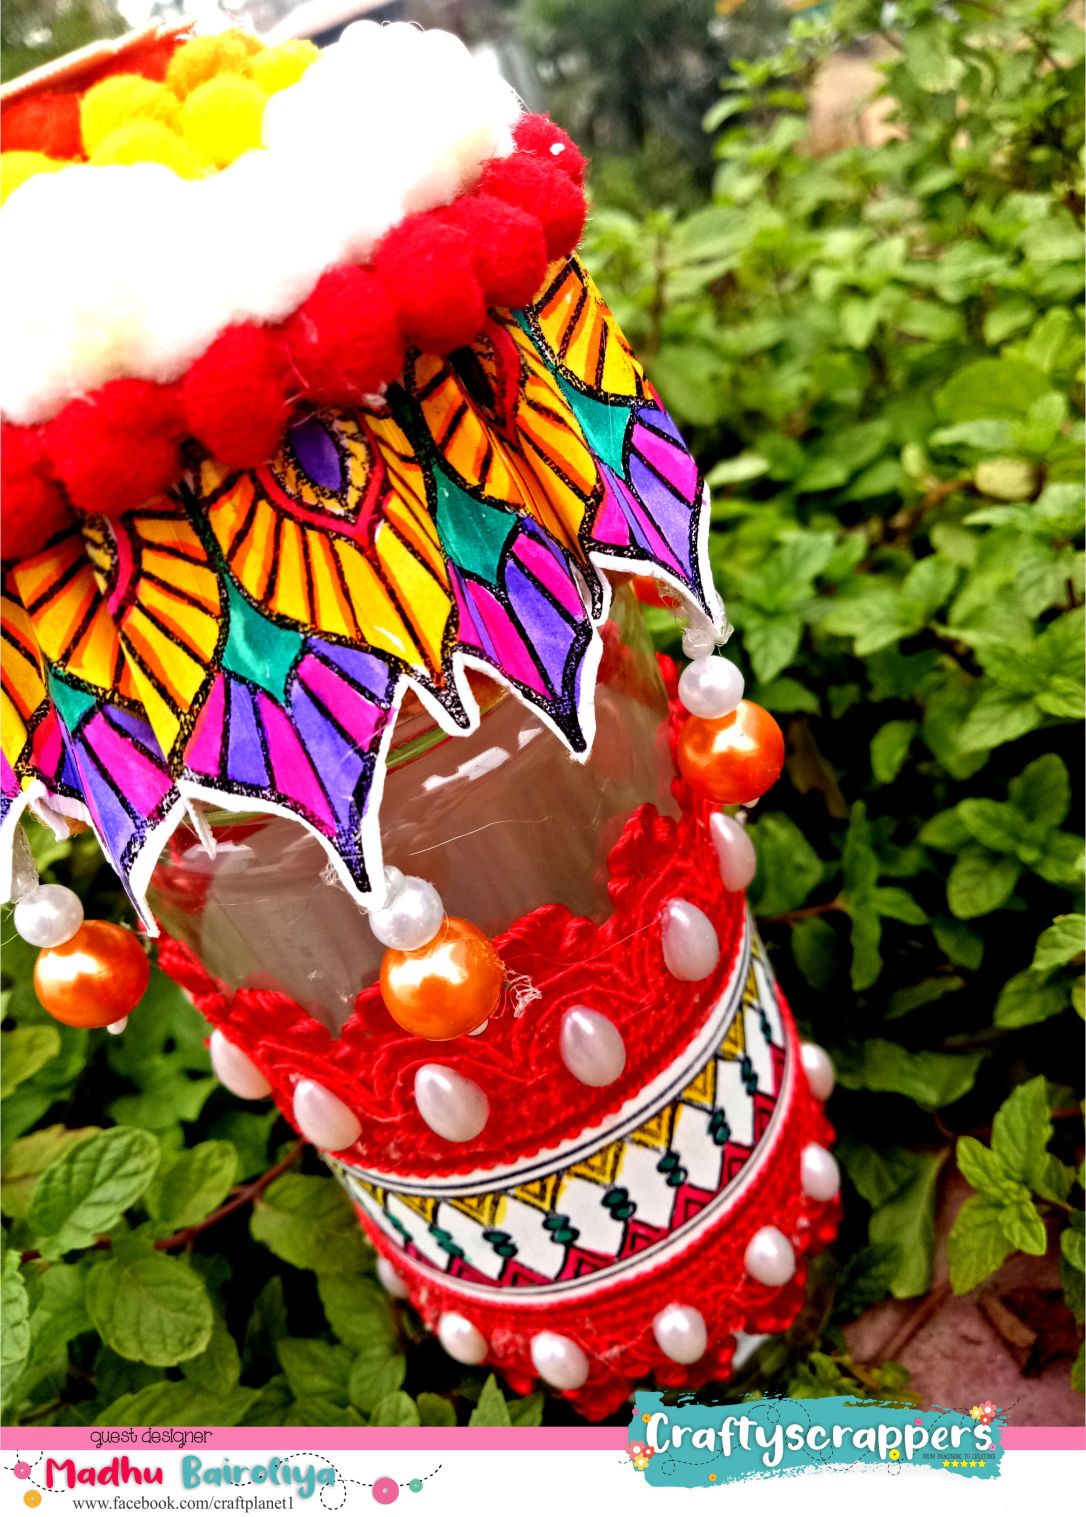
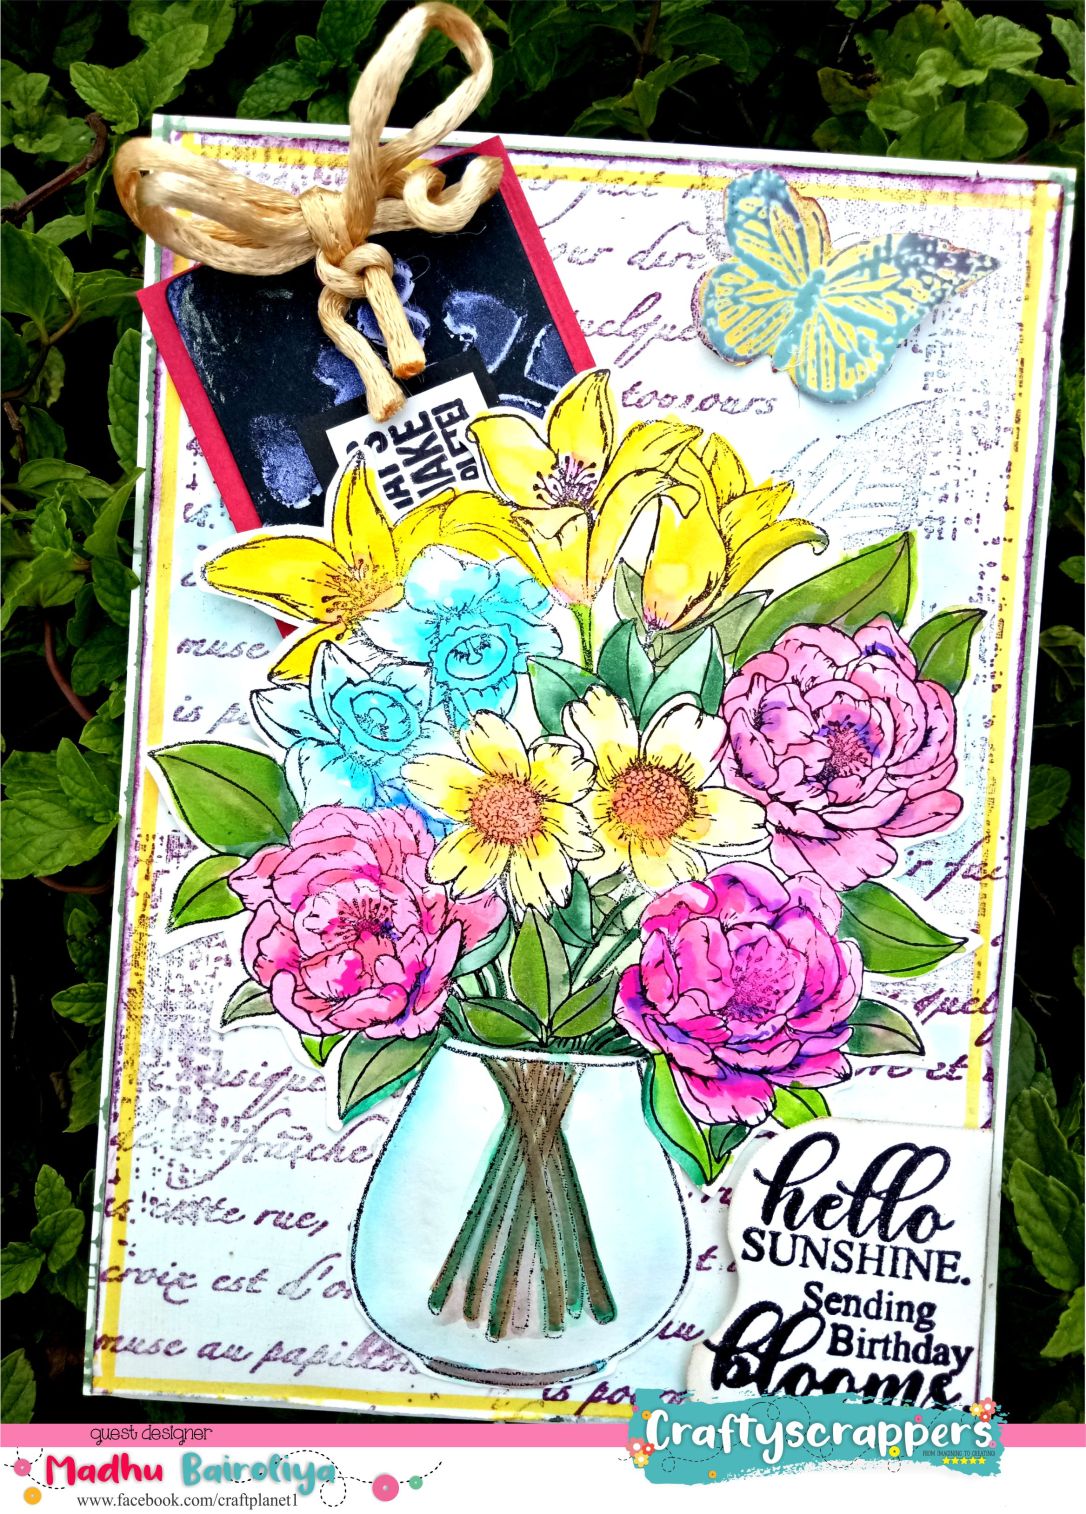
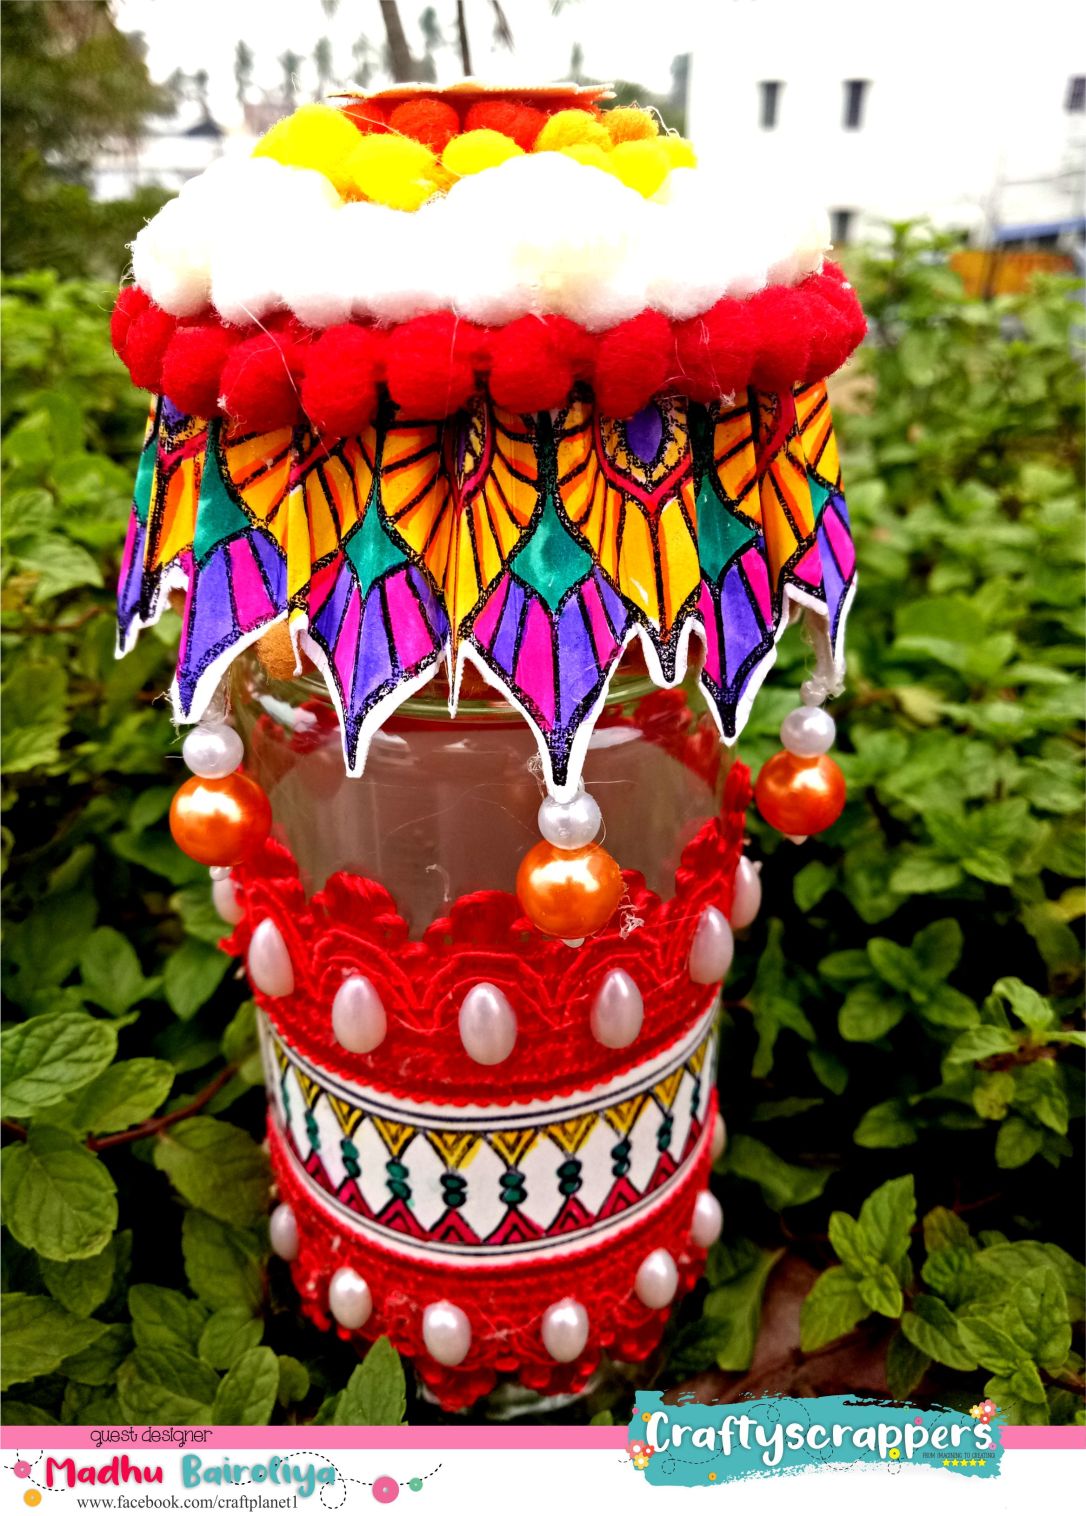
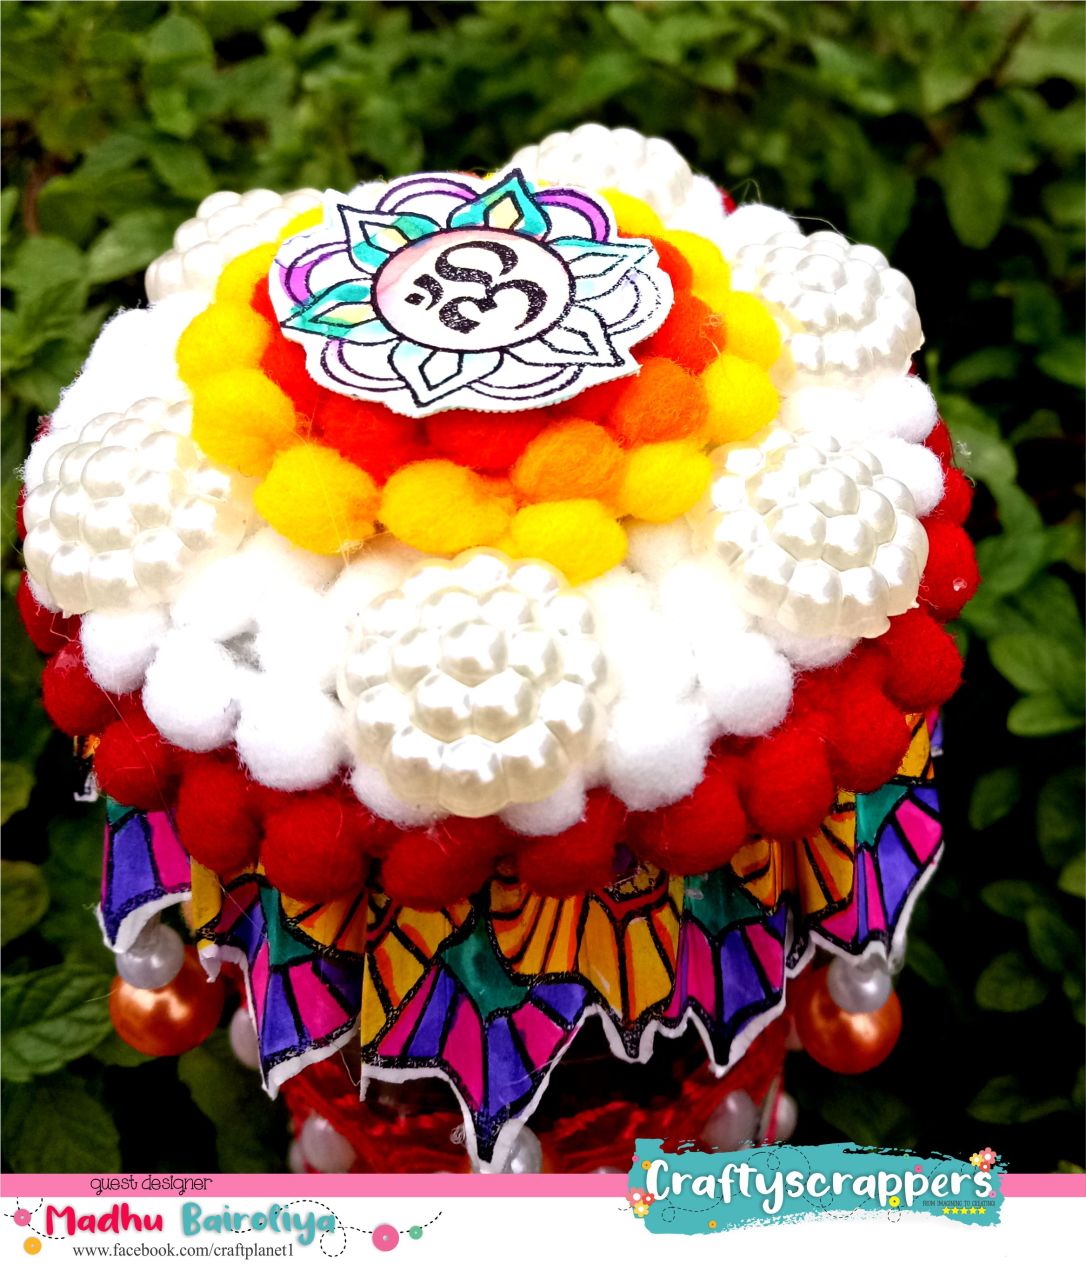
                        PROJECT#3: Altered plastic jar in festival dry fruit jar


CLOSEUP 1.jpg


CLOSEUP3.jpg


So That’s all from my end today.I hope you like this bright Fun and easy to make projects.Do check out craftyscrappers shop: http://www.craftyscrappers.into buy your craft supplies at the best prices!!!
Do leave some love and feedback below and I will be back soon for more inspirations!

Thanks for stopping by
Happy Crafting!
Madhu Bairoliya

Saturday, 12 January 2019

Mix Media Christmas Lighting Shadow box

Mix Media Lighting Christmas Shadow Box

Hey People!...
I hope you had an amazing start for 2019❤️
My first 2019 project tutorial for you all on how to make Mix Media lighting 
Christmas Shadow Box.
Have a look on the project  pics here:-


So let’s begin with the tutorial:

Step 1: For the base I used Irish 12x12 paper 270gsm for shadow box that measures
 7.25x7.25 inches.


Step2: Next step is to Cover the shadow box with white Gesso.

Step 3: I used persian blue but  craftyscrapper shimmer paint  PACIFIC CRYSTAL
 will be give depth in project, and apply all four sides of shadow box like picture.
Create texture by mixing fevicole and Prima art stone and apply all four sides like in picture.


Step 4 : Now cut CRAFTYSCRAPPERS  PREMIUM CARD STOCK  WHITE.  
Little bit smaller than the center of shadow box. For distressing i used
3 distress inks - Black Shoot, Vilted Violet, Tumbled Glass and merge all evenly.


Step 5 : Stamped distressed paper using CRAFTYSCRAPPERS stamp  FALLING SNOW BACKGROUND
with versamark ink and apply white embossing powder and embossed it with heat gun. 
Now applied shimmer paste BUTTER all sides of shadowbox to give some shimmery and snowy look. 


Step 6 : Take the Christmas theme die cut from my stash, coloured with vintage photo ditress ink and 
chipped sapphire distress ink. Apply with finger on Bethlehem die cuts craftyscrapper 
shimmer paste  CHOCOLATE and  SPLASH 
and gave it a 3D look.

Step 7 : Made holes all 4 sides of the shadow box and insert light. 


Step 8 : Attached white lace frill with hot glue.
Where ever shiny and shimmery effect it is there I applied  SHIMMER PASTES paste with finger. 
I also applied thick shimmer paste on hanging Christmas Bell.
Decorated with handmade poinsettia flowers colored with SHIMMER PASTES and attached sentiment die cut .


I hope you enjoyed this tutorial ☺️
Do share your reviews below and don’t forget to follow us on Social media Handles:-


Thank You ❤️
Madhu Bairoliya

Participating in below mentioned Monthly Challenges:-

Tuesday, 8 January 2019

Altered plastic jar into dry fruit jar

Altered plastic jar in dry fruit jar!


 Stamped which I used @craftyscrappers  border festiveborder
1.      Stamped and colored all the border with watercolor brush pens.
2.      Fussy cut stamped image
3.      Score at every one interval.
4.      Glued both ends together.


  • 5 Glued both end like figure 5
  • 6 colored another border.
  • 7 cut 4 pcs of circles bigger to small.
  • 8 Adhere all together with hot glue
  • 9 like figure 9.


  • 10 cover center of jar with red card stock.
  • 11 Glued lace top and bottom of red paper and in the middle colored stamped border.
  • 12 like figure 11 and 12
  • 13 Now I hanged pearl in rosettes. Figure 13
  • 14 Role pompom lace in circle.
  • 15 First glued chipboard circle cutout in rosettes.
  • 16 Glued this rosette on the lid with the help of hot glue.
  • 17 Glued white pompom in circle on top of the jar cap and decorate with red and yellow pompom too.
  • 18 Embellished with pearls.


ThankYou!
Please feel free to leave your comments.

Madhu Bairoliya

Friday, 30 November 2018

Diwali mix media shadow box wall hanging

Diwali mix media shadowbox wall hanging

 Good evening! I come with project of festive decor. Today I made Diwali mix media shadow box wall hanging with all fussy cutting,colors,glitters and stamping.                
Instruction: I have chosen GSM A4 white card stock sheet and made shadow box. 
stamped on all designs what i want and some on Irish cardstock also.After I colored with zig clean color real brush and some shading with shimmer color on all stamping images,fussy cut and decorate with craftscrappers flower and hand made flowers.

Made background with craftyscrappers brick stencil and texture paste then colored background with brown and water dried it properly. colored all 4 sides with brown and used dazzle pate Ballet using stencil let it dry properly.

for bandarwar I made braid with copper dori made three pearl hangs and colored OM from craftyscrappers stamps and used it as hangs.decorate with tussles.


craftyscrappers product has been used


ABSTRACT STARS STENCIL
SUBH DIWALI  (for diya n sentiments)
DURGA POOJA (trees and kalsh)
FESTIVE BORDERS (for Bandarwar hangs)
SHIMMER PASTE-SPLASH (coloured the diya)
SHIMMER PASTE-SALMON (coloured diya and texture in background)


Thanks for stopping by
Madhu Bairoliya


Monday, 3 September 2018

Daughter is an angel

Daughter is an angel...   

"She always leaves a bit of sparkle and a bit of rainbow wherever she goes.”
This sparkling beautiful 8x8 album with floral touch.
This is very precious album where Mom can store every moments of her Angel

In it can be kept 12 months records. 

Inside pages  


I used precious baby girl paper pack from Dress My Craft with fussy cutting.charms and  pearls all  are from Dress My Craft.I decorated top cover with hand draw and hand cut flowers with die cut leaves. 

Thanks
Madhu Bairoliya


.