
Glittery Aster’s Circles World!
Hello friends!
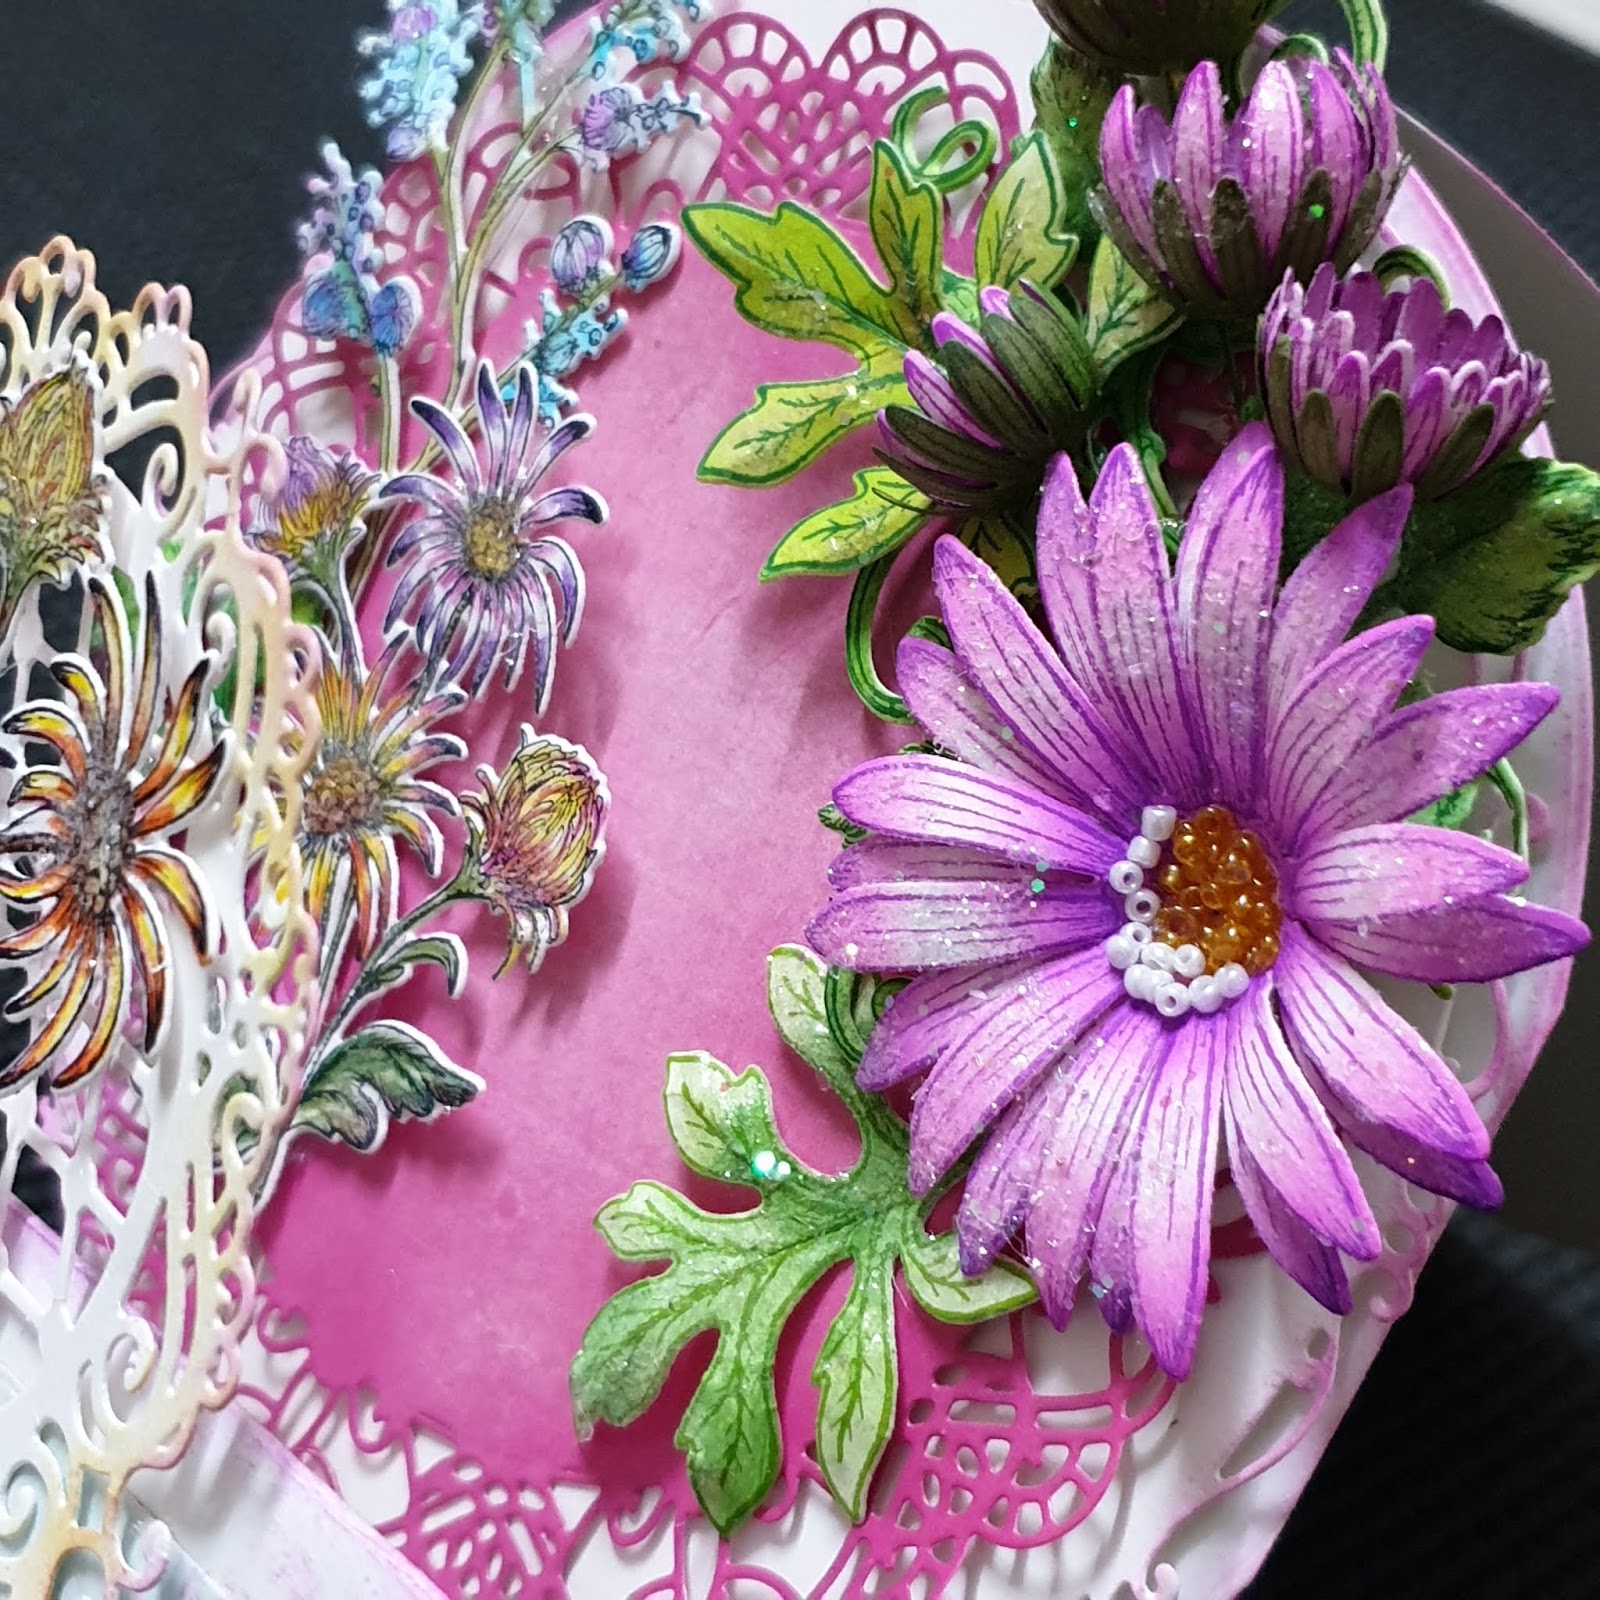
I am here with folded circle easel birthday card with some tips.
I am here with folded circle easel birthday card with some tips.
HC PRODUCTS USED:Rounded Window Frame Die, HCD1-727
Wild
Aster Die, HCD1-7257
Wild Aster Spray Die, HCD1-7258
Wild Aster Spray Cling Stamp Set, HCPC-3888
Wild Aster Cling Stamp Set, HCPC-3887
Leafy Accents Die, HCD1-7193
Leafy Accents Cling Stamp Set, HCPC-3835
3D Leafy Accents Shaping Mold, HCFB1-467
Window Scenes Paper Collection, HCDP1-2109
Deluxe Flower Shaping Kit, HCST1-401
Rajni Chawla's Crystal Clear, PGM15015
Other
products: Icraft flower shaping paper super white, white cardstock, pink card stock, pearls, glass beads, wire, hot
glue, dries clear glue,
Inks:
Archival – Cactus Flowers, Majestic Violet, jet Black, Library Green, Leaf
Green, Memento: Lilac Posie, Colour pencils, Zig Marker
Products can be buy from
USA Heartfelt Creations
INDIA crafterscorner
INDIA Icraft Flower Paper
Note: At the end of blog you will get some tips.


For
more tips on creating with the Window Scene cards & dies, watch the
tutorial at
For more tips on creating with the Wild Aster Collection,
watch the tutorial at https://youtu.be/1mriCKqh-Ac.
Instructions: Take a square
card base 6” x 6”. Cut using
Rounded Sunlight Window die extending over the top of the fold of the card. Run
the card through die cutting machine so when the card is opened it will still
be intact. Now cut 3 circles using same window die. Fold all 3 circles into
half. Attach them together with the help of hinges. Also attach with 6x6 circle
card base. Now card base is ready. See the picture it looks like this.

Cut circle card mats from Window Scenes Paper Collection using
Rounded Sunlight window die. Cut them into half. To give some more creative
look use 2nd large doily die cut as a stencil from Rounded Window
Frame die. Do stenciling using Rounded window frame 2nd die as
stencil with pink posie memento ink. Adhere on folded card mats. See the picture.

Now cut 3 dollies from white cardstock using 3rd and
4th doily from Rounded Window frame die. Distress the edged using
sunflower and cactus flower archival inks. Cut one doily from deep pink card
stock using 2nd largest die from Rounded Window Frame die. And
distress the edge using memento Lilac Posie ink ans yellow ink. Glue these dollies on folded
card as shown in the picture. Add half small pearls on doily net.
Stamp aster flowers on flower shaping
paper using cactus flowers and majestic violet archival ink and cut with
coordinating dies. Sponge flowers using cactus flower, shape flowers using ball
tool. Layer big flowers and add yellow and white glass beads in center using
clear adhesive. Create one flower inward fold as shown in
picture Shape the small asters into bud form using two petals and
single petal, and pair with green aster for a realistic bud look with wire
stamens. For green aster stamp on green card stock with Library Green. Cut with
coordinating dies.
Stamp aster leaves using library
green ink and cut with coordinating die. Paint leaves using leaf green ink.
Shape leaves using ball tool. Stamp leaves with Leafy Accents Cling stamp set
with Library Green, color with leaf green, cut with coordinating dies. Shape
with 3D Leafy Accent Shaping Mold.
Stamp image with Wild Aster Spray
Cling Stamp Set with Black Archival and color with pencil color and zig marker.
Cut with coordinating die.
Add crystal clear on flowers, leaves
and sprays using dries clear glue.
Arrange flowers, leaves and sprays on
all layers and glue them with hot melted glue. Add tag.
Enjoy more pictures.




Tip: for fast working I washed back of sheet with green water
or acrylic paint. Like pictures...

For aster flowers, painted thin mauve paint to the back of petals and buds petals. Like picture...

If you liked put some comments in comment box.
Thanks for stopping By.
Hugs
Madhu Bairoliya


