
Calla Lily Booklet Desk Calendar 2020!
Hi Friends!!
Happy New Year! I have a creative idea for you. This is my first project for year 2020
Calla Lily Desk calendar 2020.
Heartfelt Creations crafters say:
"Heartfelt Creations cards are amazing... fabulous stamps, dies and the best ever flowers using the shaping kit. Also the paper pads are many with fabulous prints for all occasions" - Bev Code
These are the supplies I used.
Heartfelt Creations Products:
Heartfelt Creations Products:
Booklet Frames Die HCD2-7261
Calla Lily Die, HCD1-7275
Calla Lily Paper Collection, HCDP1-2110
3D Calla Lily Shaping Mold, HCFB1-484
Calla Lily Cling Stamp Set, HCPC-3897
Calla Lily Paper Collection, HCDP1-2110
3D Calla Lily Shaping Mold, HCFB1-484
Calla Lily Cling Stamp Set, HCPC-3897
Feathery Swan Die, HCD1-7276
Feathery Swan Cling Stamp Set, HCPC-3898
Rajni Chawla's Crystal Clear, PGM15015
Raindrops On Roses HCD1-743
Raindrops On Roses HCD1-743

Inks: Archival ink- Library Green, Vibrant Fuchsia, Leaf green, Jet
Black
Distress
ink Peeled Paint, Memento Bamboo leave,
Other
Products: White Dress My Craft Floral Oriental Collection Paper, golden mirror sheet, Score-Board, DMC Satin twine, wire, magnets, pollen,
For more tips on
creating with the Calla
Lily Collection watch the tutorial at https://youtu.be/VWKPoXjpiug.
For more tips on
creating with the booklet
frame dies, watch the tutorial at https://youtu.be/kJO5LdNFxgE.
Instruction:
Size of calendar is 8-1/4” by 6”
The most important is for it base cardstock I used 2 A4 sheets.
Calendar Base: Cardstock 8-1/4" x 11-3/4". Score
at 1/2"(this is the hinge), 6-1/2”, 8-1/2", 10-1/2" and fold all 2” score line zig zag. Cut cardstock 8-1/4” by 6”. Adhere the both edges using red tacky tape. Now base is ready.
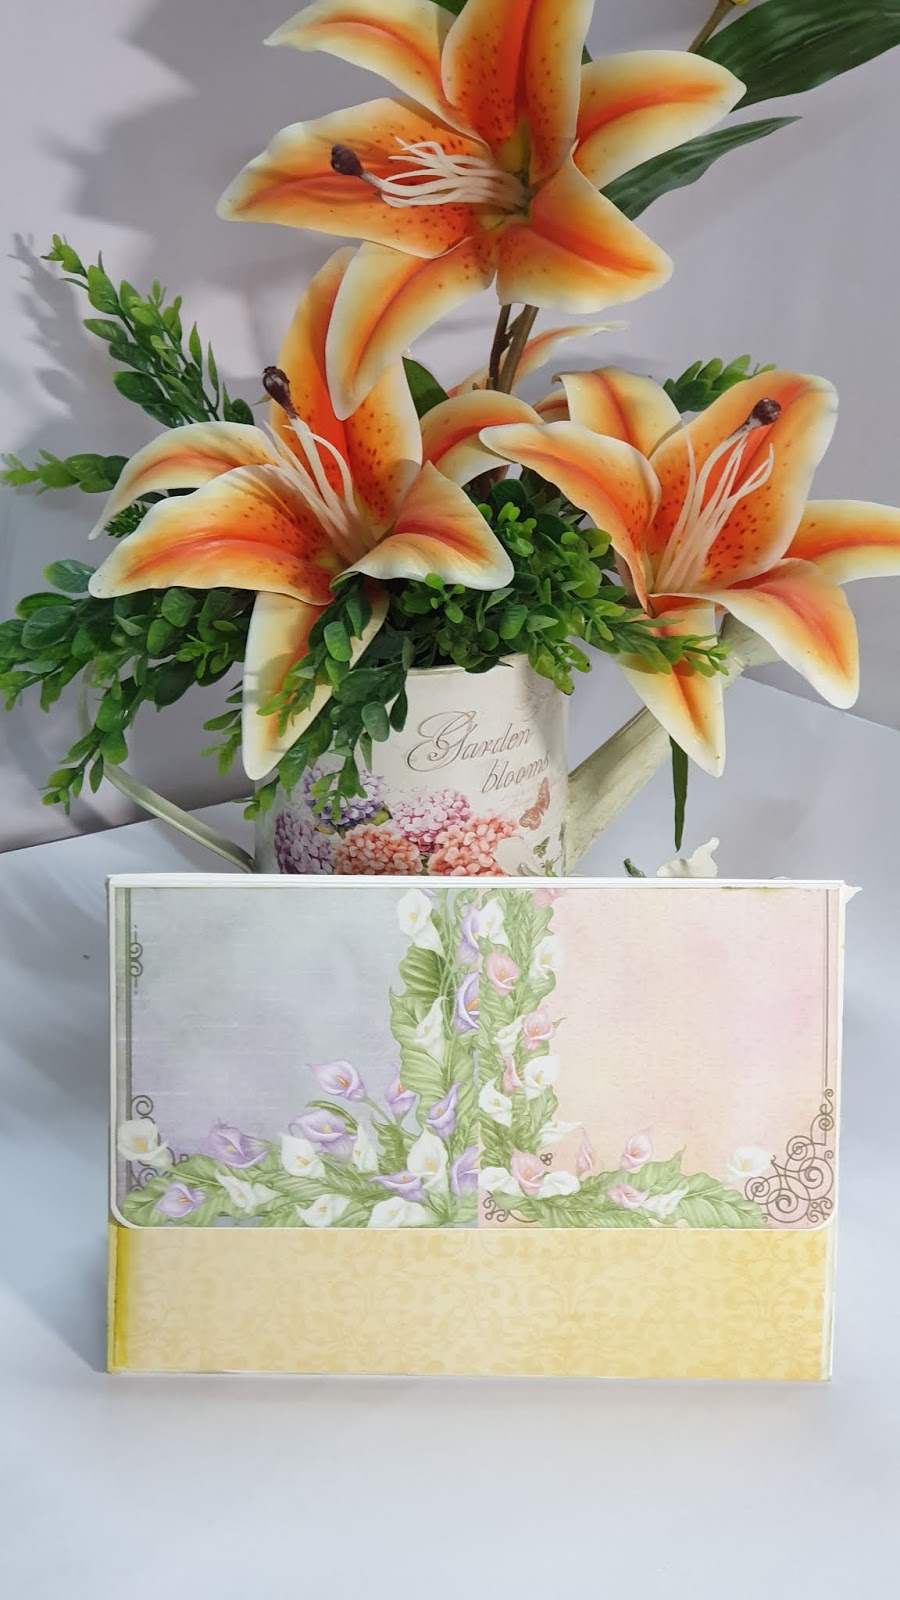
Take white cardstock 1/8” smaller than base, mat on calendar base. Take 1/8” small pattern paper from the collection distress the edges mat on it with 3D foam tape.
Take white cardstock 1/8” smaller than base, mat on calendar base. Take 1/8” small pattern paper from the collection distress the edges mat on it with 3D foam tape.
Flowers: Now stamp Calla Lily flowers on white
Dress My Craft Paper Floral oriental paper using Memento Bamboo Leave, cut them with coordinating die
and color them with Archival Vibrant Fuchsia and Bamboo leaves both sides.
Stamp Leaves with StazOn Olive Green and color with Leaf Green and Memento
Bamboo Leaves, cut with coordinating die. For Leaves color them with StazOn Bamboo Leaves on the edges of leaves. Shape them using Calla Lily 3D Shaping Mold. For
flowers, twirl them. Adhere the stamen to the
lily center using the hot glue gun. Add stamen and Rajni chawala's crystal clear glitter.
Now Stamp Swan and Calla Lily Spray image from Feathery Swan Cling Stamp Set
on white cardstock using archival ink-Jet Black, cut with coordinating die and
color it with Zig Clean Color Real Brush Markers. Add crystal clear glitter using dries clear glue.
Now for calendar numbers tiles 0 to 9 die cut and 1, 2, 3 need one more extra. Take two of 1" circles distress the edges, taped magnets in between circles and adhere numbers on it. Print days and months from computer and create like a flag, attach with wire.
Once the Calla Lilies, leaves and all elements are rady, Raindrops On Roses golden die cut make it half from middle and glued on the calendar booklet base. Arrange flowers leaves sprays using hot glue as pictured.
NOW MULTI STYLE CALENDAR IS READY.
Some more views...


Thanks for stopping here.
Hugs
Madhu Bairoliya


