Showing posts with label craftyscrappers. Show all posts

Monday, 17 June 2019

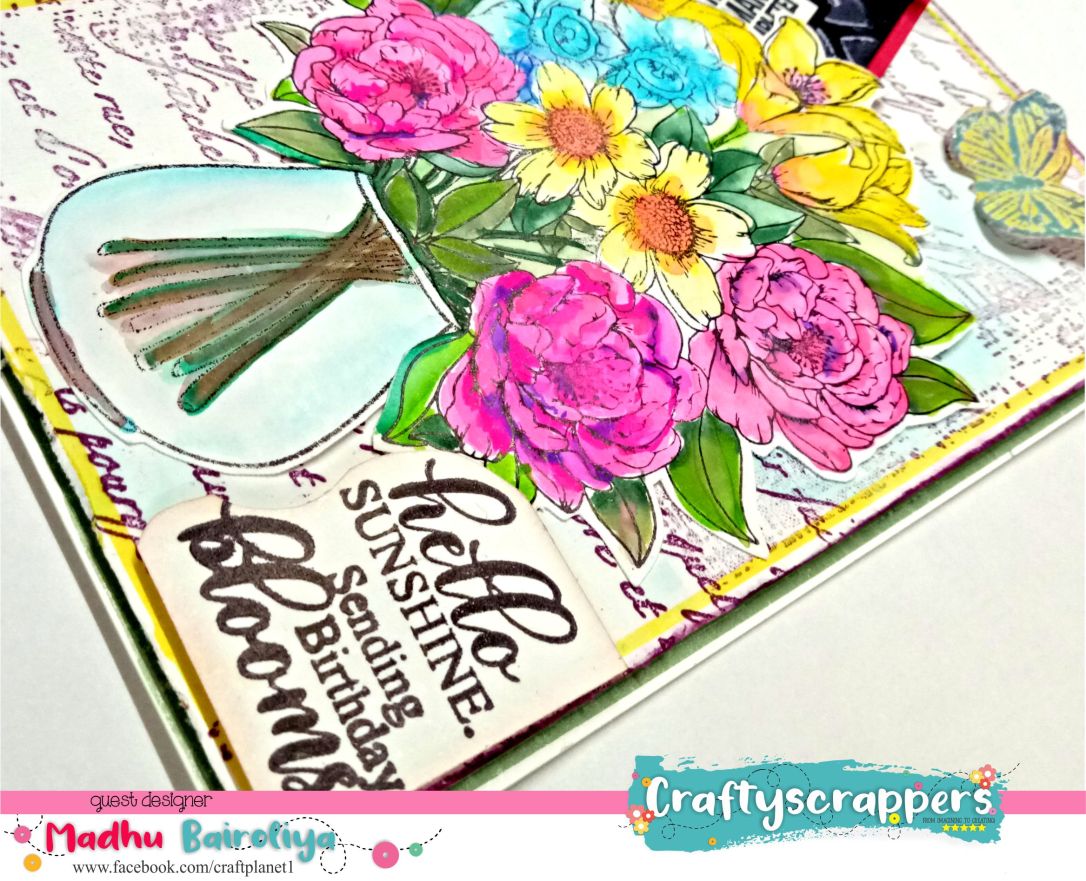
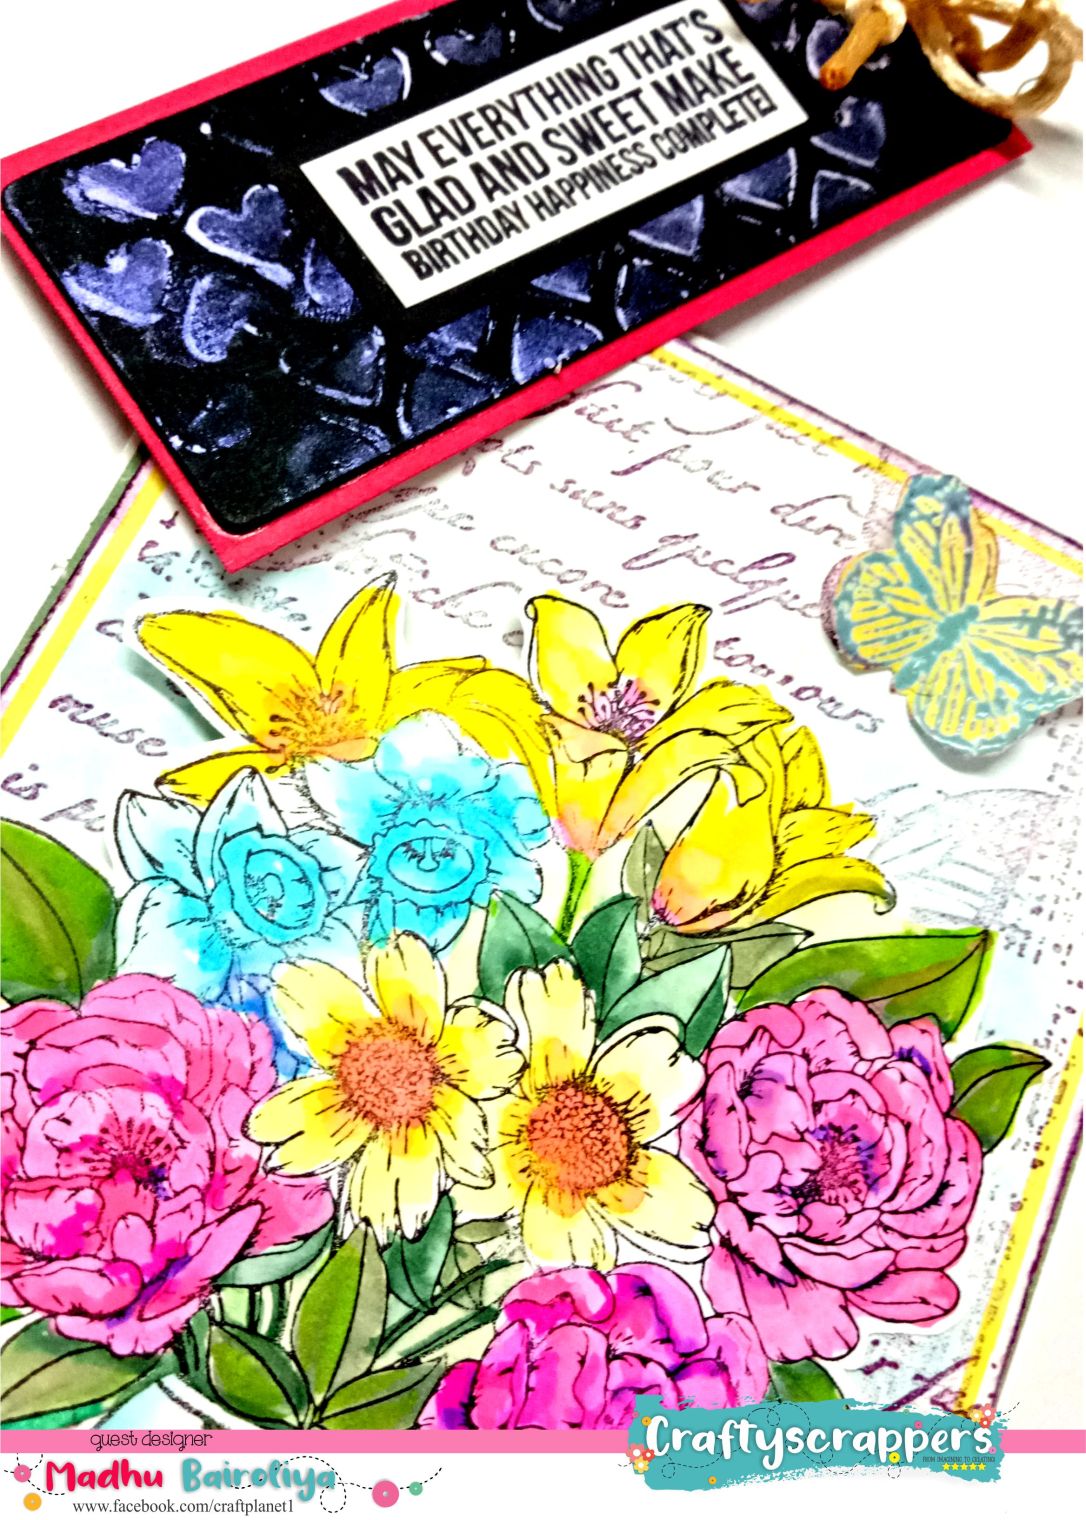
Mixmedia happy for you card

Mixmedia card "happy for you "

Hello crafty Friends !!!!

Today I would love to share a very beautiful and lovely mixmedia card 💝


Products have been used
Classic Rose Die, HCD1-7110

Craftyscrappers products...
Dazzaling paste


Brief Tutorial
  1. First take a plastick sheet and rub pink Premium-Waterreactive-Inkpad(COTTON CANDY)      bluePremium-Waterreactive-Inkpad(ARCTIC) and yellowPremium-Waterreactive-Inkpad(DAFFODIL)  ink from craftyscappers and spay water put a cardstock and press from back. 
  2. Now dry with heat tool.
  3.  Apply Dazzle Texture Paste-BALLET using stencil and dry with heat gun.
  4. apply purple ink on it with light hand.
  5. Matting on purple card stock.
  6. take one more white card stock and put stripes stencil from stash and apply Premium-Waterreactive-Inkpad(COTTON  in check style.
  7. For the flower use heartfeltcreations classic rose stamped and cut with coordination dies.
  8. colour the petals with craftyscrappers Premium-Waterreactive-Inkpad(CARROT and shape the petals with hatfeltcreations shaping mold.
  9. Apply some Dazzle Texture Paste-BALLET on flowers.                                                         
  10. Add lace from the stash with hot glue on back of the textured paper.
  11. First adhere pink check paper on white card base.
  12.  Now place purple matted paper  (mixmedia background)
  13. Arrange the flowers with leaves corrugated paper and some decorative die cut from the stash.
  14. stamped butterfly.
  15.  Adhere mini pearl with glossy accent.
  16. Adhere sentiment.  Now card is ready.
Here is some more pictures!!


This is all from my side. 

I hope you liked this project.
Do let me know how you like this project in the comments below.Until then Happy Crafting 🙂
Hugs
Madhu Bairoliya


Wednesday, 27 March 2019

Craftyscrappers Blog Hop

HELLO CRAFTY TOURISTS
WELCOME TO TOWN CRAFTYSCRAPPERS
We are proud citizens of town Craftyscrappers. Our crafty town is being run by Mayor.Konica Das and Deputy Mayor.Jesse Zedek.
This month we are celebrating 6th birthday of our town and we like to invite you to visit my crafty castle/museum/handmade store (choose any one). Every year, we have crafty tourists visiting our town and joining us in celebration.
We invite everyone to join us on this occasion and hop on & off our crafty bus.


Our blog bus runs from April 2 until April 16 and we have prizes for a lucky visitor on May 5, who will receive lovely gifts from us.
I welcome you to see one of my unique crafty creation made for this

    A brief tutorial:


  1. Take a white card stock 4 X 5.75 used golden heat embossing powder with scripted butterfly background.
  2. set layering stencil on white paper for flowers..... 
  3. yellow flower..... base with Buttercup shimmer paste, and after drying apply any two deep yellow distress ink.
  4. pink flower.....  Shimmer paste Cupcake any appy two dipper shades
  5. Blue flower..... base with Martina shimmer paste   apply any two dipper shade  
  6. leaves...... Simmer paste - Stem shade with distress ink pealed paint and mowed lawn
  7. Make center step card base with 6x7.5 white card stock. 
  8. Both side boder used white heat embossing powder using caftyscrappers border stamp set and apply three distress ink for color background.
  9. stamp balloons from Celebrate holi stamp set and fussy cut and stick on crafty scrappers element sheets
  10. Birthday tag with white heat embossing and distress background with marmalagoon ink.
  11. set all objects with blue matting paper on the card base.
  12. Add sentiment with foam tape.
  13. And the card is ready.   


Some closup look


Thank you for visiting my place. Hop on and get off at the next stop (MEENAKSHI SHANKAR) and enjoy marvellous master piece created for you.

Tuesday, 26 March 2019

HOLI RAINBOW POP UP GREETINGS

HOLI RAINBOW POP UP GREETINGS

Hello Friends!!
I hope you all are doing well.
This is Madhu Bairoliya Creative Designer at craftyscrappers
and today I am here with my inspiration post for our ongoing challenge…


  • Take white card stock and stamp boy from HAPPY KIDS-BOYS  and CELEBRATE HOLI stamp set with black archival and color with water medium brush pen. and fussy cut.
  • Take black card stock 12x6 and fold i middle for 6x6 card base.
  • Do matting with golden yellow deep cardstock and after that this texture sheet  which i got when i was wipping my basket weave stencil.
  • Made Rainbow banner and attached with brads. VIBGIOR
  • Add all fussy cut on the top.


INDISE 


  • Take white 12x3.5 " 60 gasm card stock and first score at every 4/16 interval and do fanfold
  • second fan same process (stripes 12x2.5")
  • Third stripes 12x1.5"
  • when all fans are ready open them and color with water spay and color water color with brush effect of rainbow let it dry naturally or hair dryer.
  • Now glue fussy cutting of pop up fans according to the pictures.
  • Add sentiments.
  • Add twine closer 
  • And the card is ready.   


This is all from my side.
I hope you liked this project.
Do let me know how you like this project in the comments below.Until then Happy Crafting 🙂
Don’t forget to join in our craft challenges
(details at the beginning of the post)
You can  participate via Facebook, Instagram and even via email.
(While sharing your creation post over the social media, ie
Facebook/twitter/Instagram
please use #Craftyscrapperschallenge29 to qualify for submission,
failing to do so, the entry would be disqualified.) 

Thanks for stopping by.
Have a crafty day ahead !

Monday, 18 March 2019

COLORFUL RAIN HOLI CARD


COLORFUL RAIN

Hello crafty people!
I hope you all are doing well.
This is Madhu Bairoliya Creative Designer at craftyscrappers
and today I am here with my inspiration post for our ongoing challenge…


Thanks for stopping by.
Have a crafty day ahead !
Madhu Bairoli

Holi shaker card


Hello crafty people!

I hope you all are doing well.
This is Madhu Bairoliya Creative Designer at craftyscrappers
and today I am here with my inspiration post for our ongoing challenge…

Tutorial is Here:   Holi-shaker-card


Thanks for stopping by.
Have a crafty day ahead !


Friday, 1 March 2019

Monochrome Love

Mono Chrome Love!

Hello crafty people!


I hope you all are doing well.
This is Madhu Bairoliya 
Today i brought monochromatic card
  1. Take a white card stock & create a background using shimmer paste Cupcake from craftyscrappers.in using stencil diagonal stripes.
  2. For mono-chroming the color apply distress ink spun sugar and raspberry.
  3. Matting with pink and white card stock.
  4. Now make one triangle pocket for holding the tag.
  5. Make one tag and embossed with sizzex embossing folder. Now apply ink on that with ink pad 
  6.  Adhere triangle pocket on ready card base.
  7. Arrange leaves from heartfelt creations and  my handmade flowers with help of hot glue.


This is all from my side

I hope you liked this project.
Do let me know how you like this project in the comments below.Until then Happy Crafting 🙂  
Hugs💟💟

Madhu Bairoliya

https://www.instagram.com/madhu.bairoliya/
https://www.facebook.com/craftplanet1/?ref=bookmarks


Thursday, 28 February 2019

YOU MADE MY LIFE BEAUTIFUL

"YOU MADE MY LIFE BEAUTIFUL"

Hello crafty friends!!!!
Today i am with valentine card 


I have taken card base 6x5.5
Take white card stock 6x11 and score at 5.5
 Distress with picked raspberry distress oxide all four sides. Take gray card stock smaller than white base distress with black shoot.adhere it on white base.


Take white card stock half inch smaller than gray card stock and distress the edges with scissor or distressing tool. take one more gray card stock smaller than it  
Use shimmer paste with heart craftyscrappers stencil.
distress the edges with black shoot. Adhere it on white cardstock


stamped image from my stash color with any water color medium pen fussy cut  adhere with dimensional tape for 3D look. Stamp sentiments fussy cut and adhere it.

I hope you liked this project.
Do let me know how you like this project in the comments below.Until then Happy Crafting 🙂

Hugs
Madhu Bairoliya


Saturday, 23 February 2019

Spiral burst You & Me card

             Hello crafty people!

Hello crafty people!
I hope you all are doing well.
This is Madhu Bairoliya Creative Designer at craftyscrappers
and today I am here with my inspiration post for our ongoing challenge…

CHALLENGE #28 ALL YOU NEED IS – LOVE

 So here is my creation:


                                         A brief tutorial:

  1. Take a white card stock set spiral-sunburst
    stencil on paper & create a background using “ink blending
    technique” 
  2. First blend TUMBLES GLASS on the craftyscrappers sunburst stencil  and then for deep shade blend MERMAID LAGOON.
  3. For second colour first wipe the stencil and reverse it
    and blend SEEDLESS PRESERVES distress ink .  
  4. Stamp the couple image from the stamp set YOU AND ME  Color & fussy cut it. 
  5. stamp the sentiment  on the created background sheet using versamark ink and add black embossing powder & heat set the same.
  6. Add  little hearts  to add some more interest to it. 
  7. Apply some shimmer  paste with brush back of the boy head and on colored rose.
  8. Adhere the couple image using dimensional
    tape (foam tape) & do the same for small Darling sentiment 
  9. And the card is ready.   
                                                          
                                                                     Here are some close-ups:


            This is all from my side. 

I hope you liked this project.
Do let me know how you like this project in the comments below.Until then Happy Crafting 🙂
Don’t forget to join in  craft challenges

You can  participate via Facebook, Instagram and even via email.
(While sharing your creation post over the social media, ie
Facebook/twitter/Instagram
please use #Craftyscrapperschallenge28 to qualify for submission,
failing to do so, the entry would be disqualified.) 

Thanks for stopping by.

Have a crafty day ahead !                           

Tuesday, 5 February 2019

Cards and Altered Art

Cards and Altered Art

FUN TO MAKE PROJECTS FOR

 Hey there crafty people 🙂 
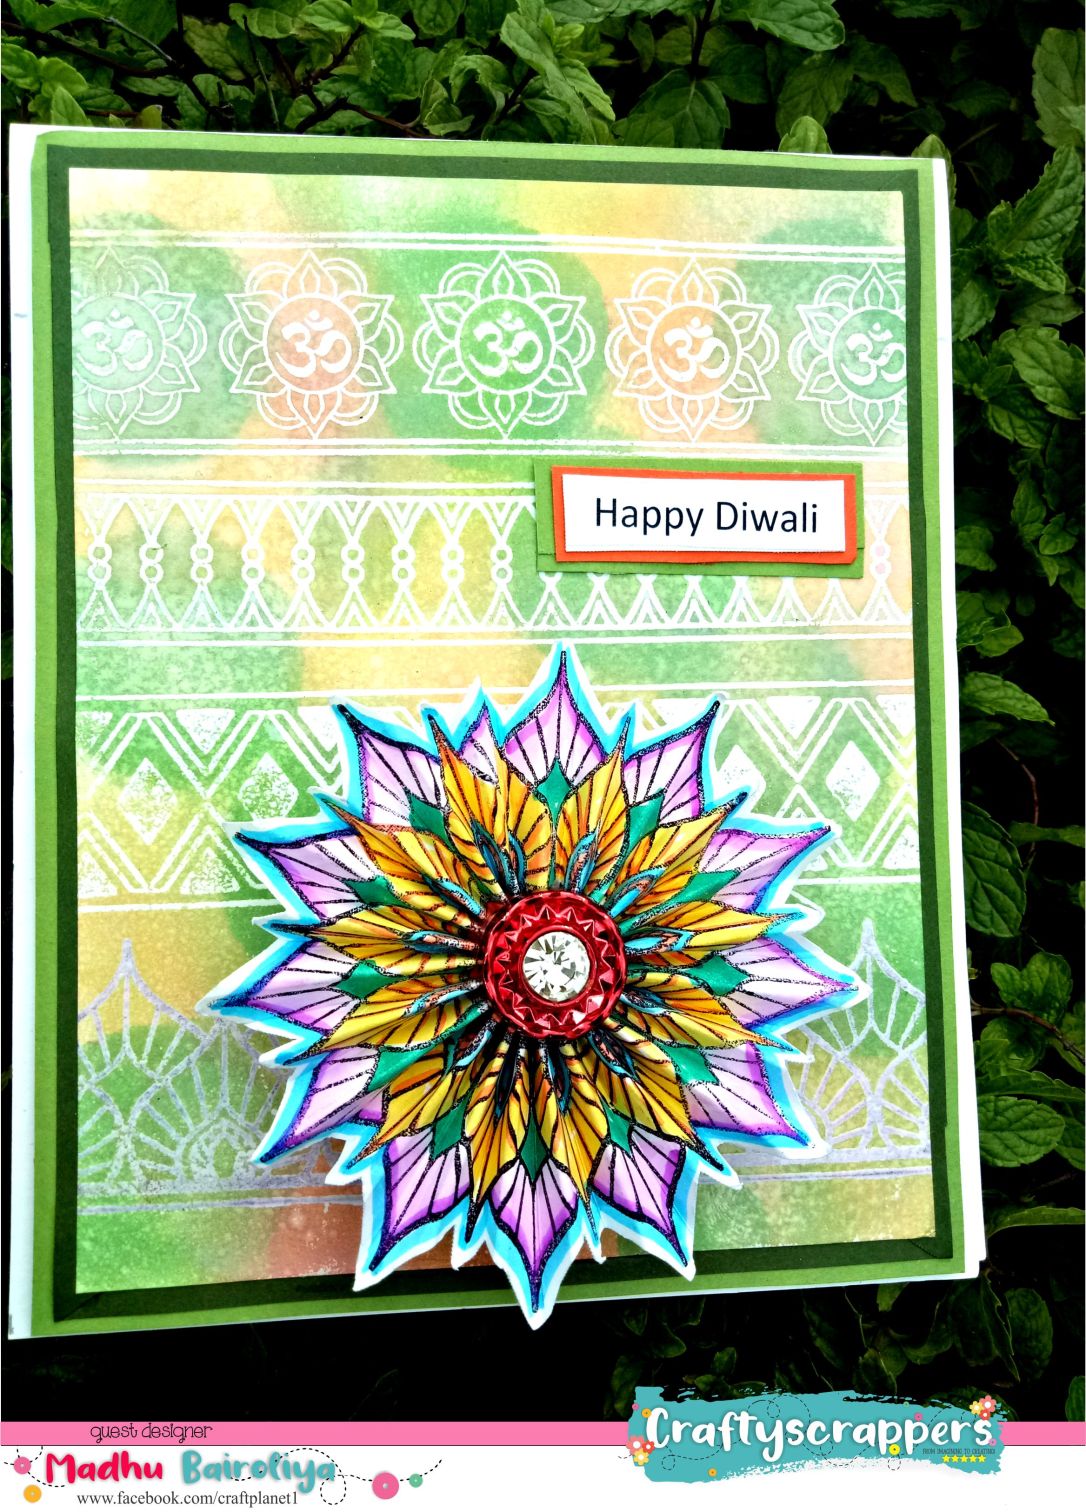
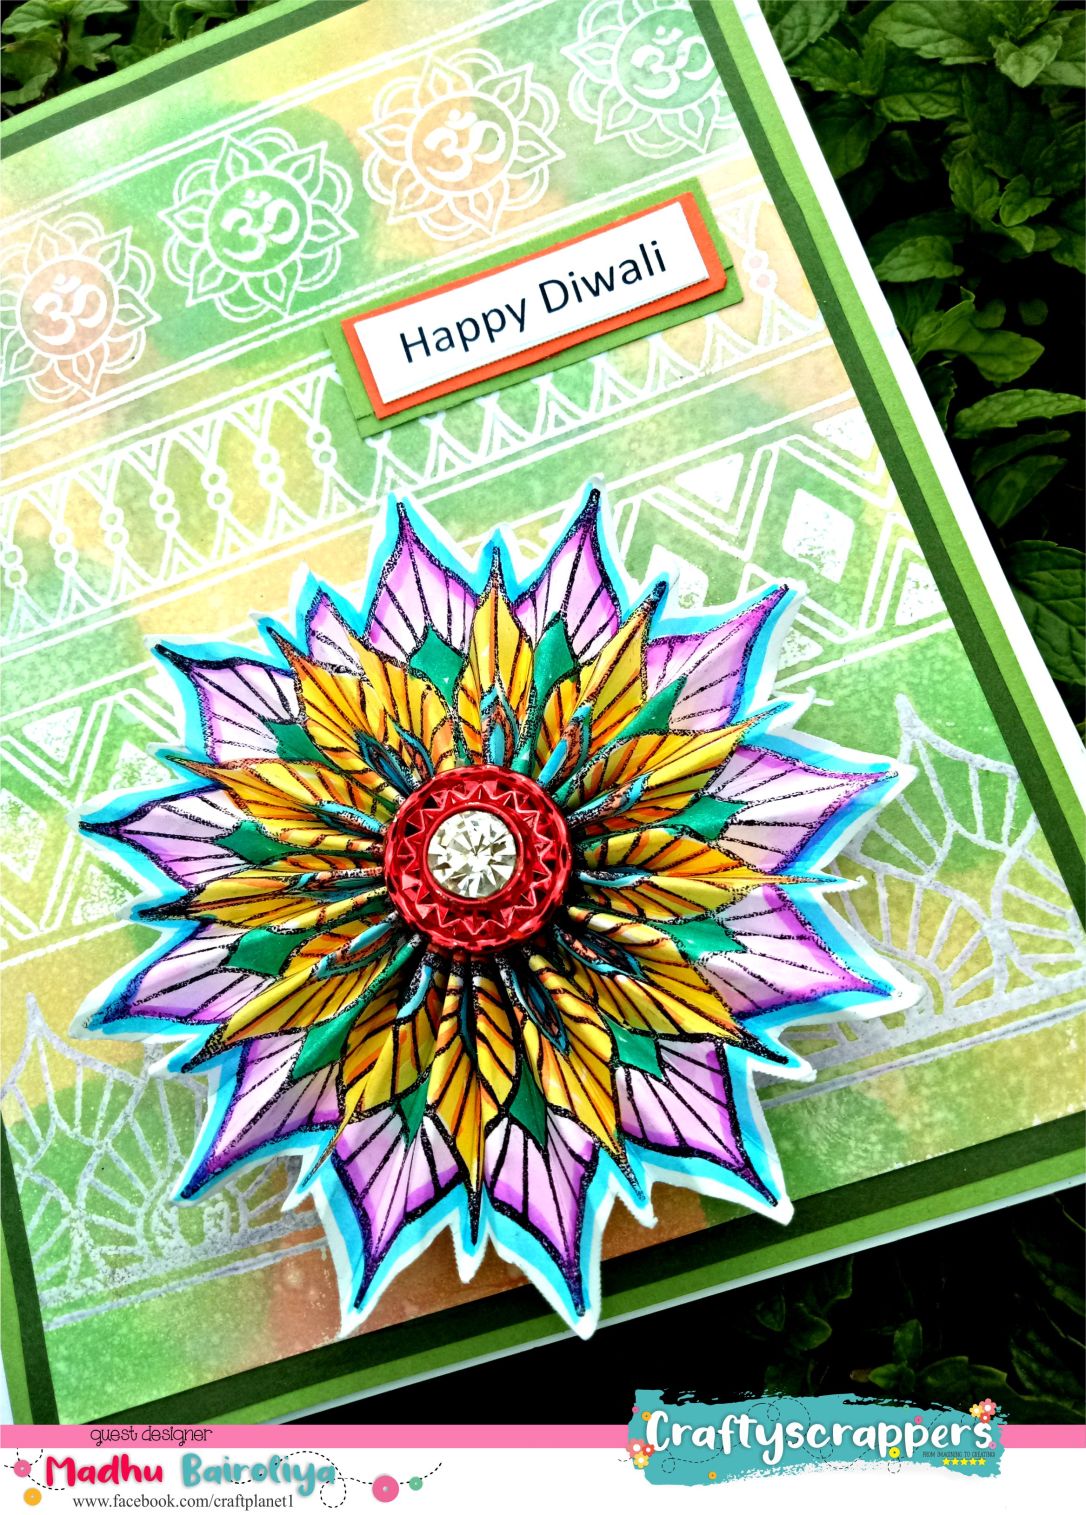
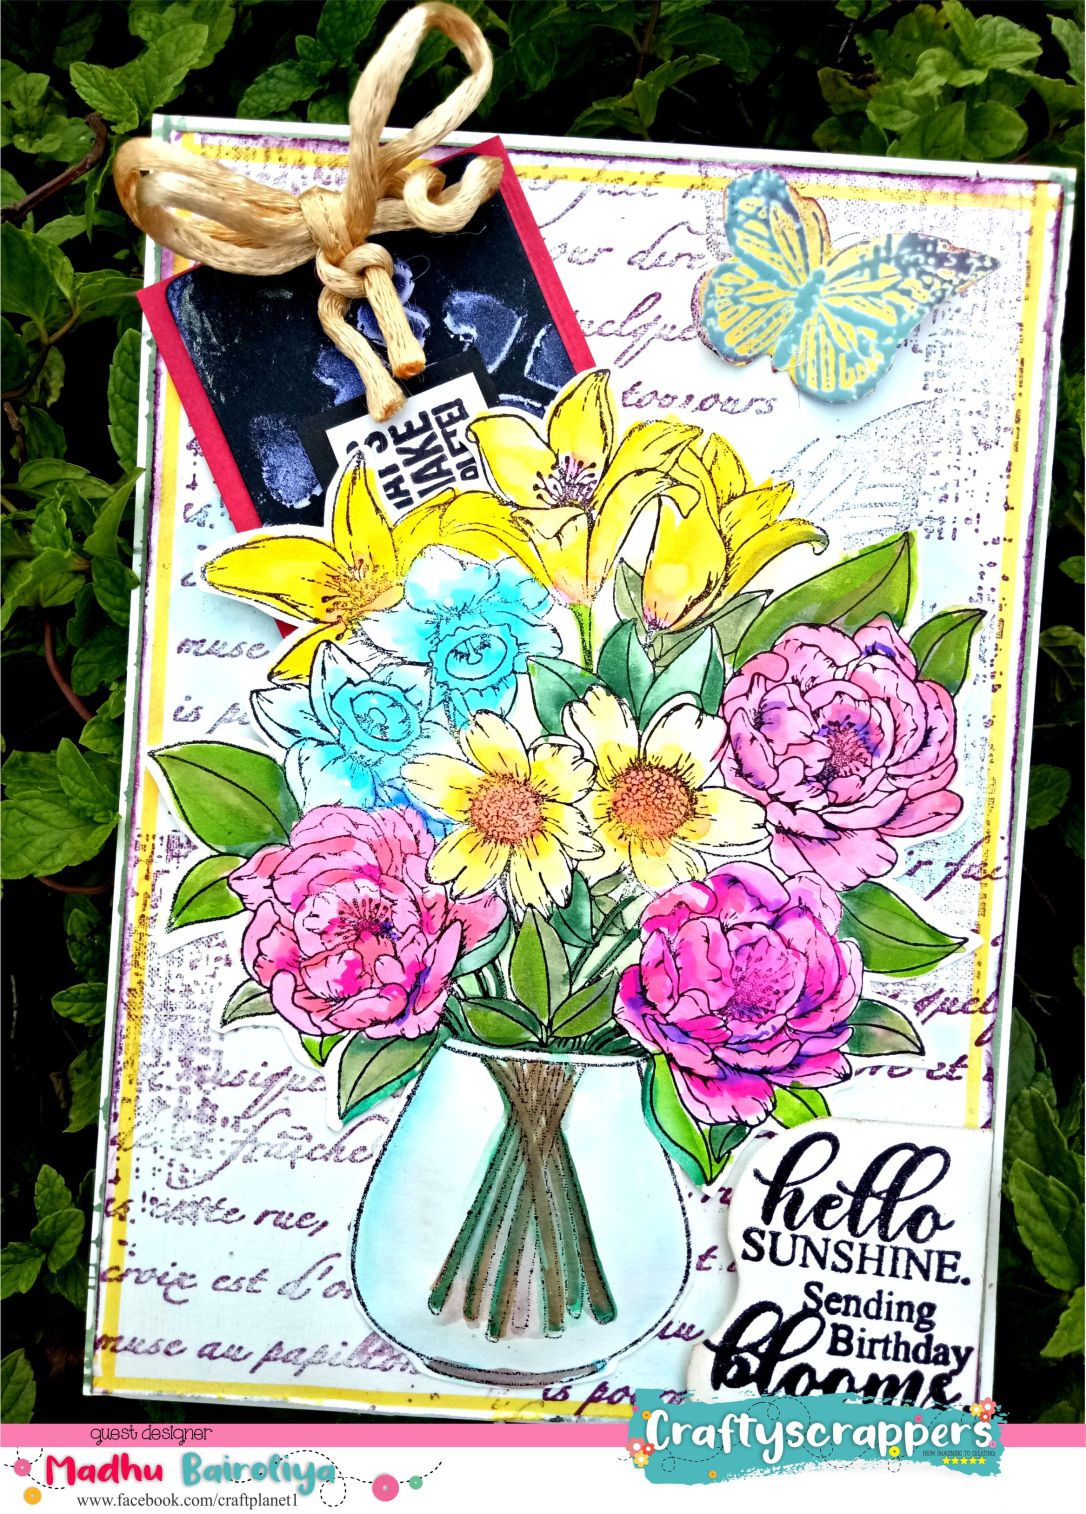
This is Madhu and today I’m here as a Guest designer to share three easy and fun projects with you all. 
We all know that @craftyscrappers always come up with high quality clear stamps which has unique designs with so many possibilities and with just one single stamp set, there are endless possibilities to use them to create numerous cards and crafts.
These designs are so perfect, that you can use them in cardmaking or mixed media creations or even scrapbooks and tags.

guest designer final watermark.jpg


final 3.jpg
CLOSEUP2.jpg
IMG20181020112746.jpg
IMG20181016131116.jpg


IMG20181016131134.jpg


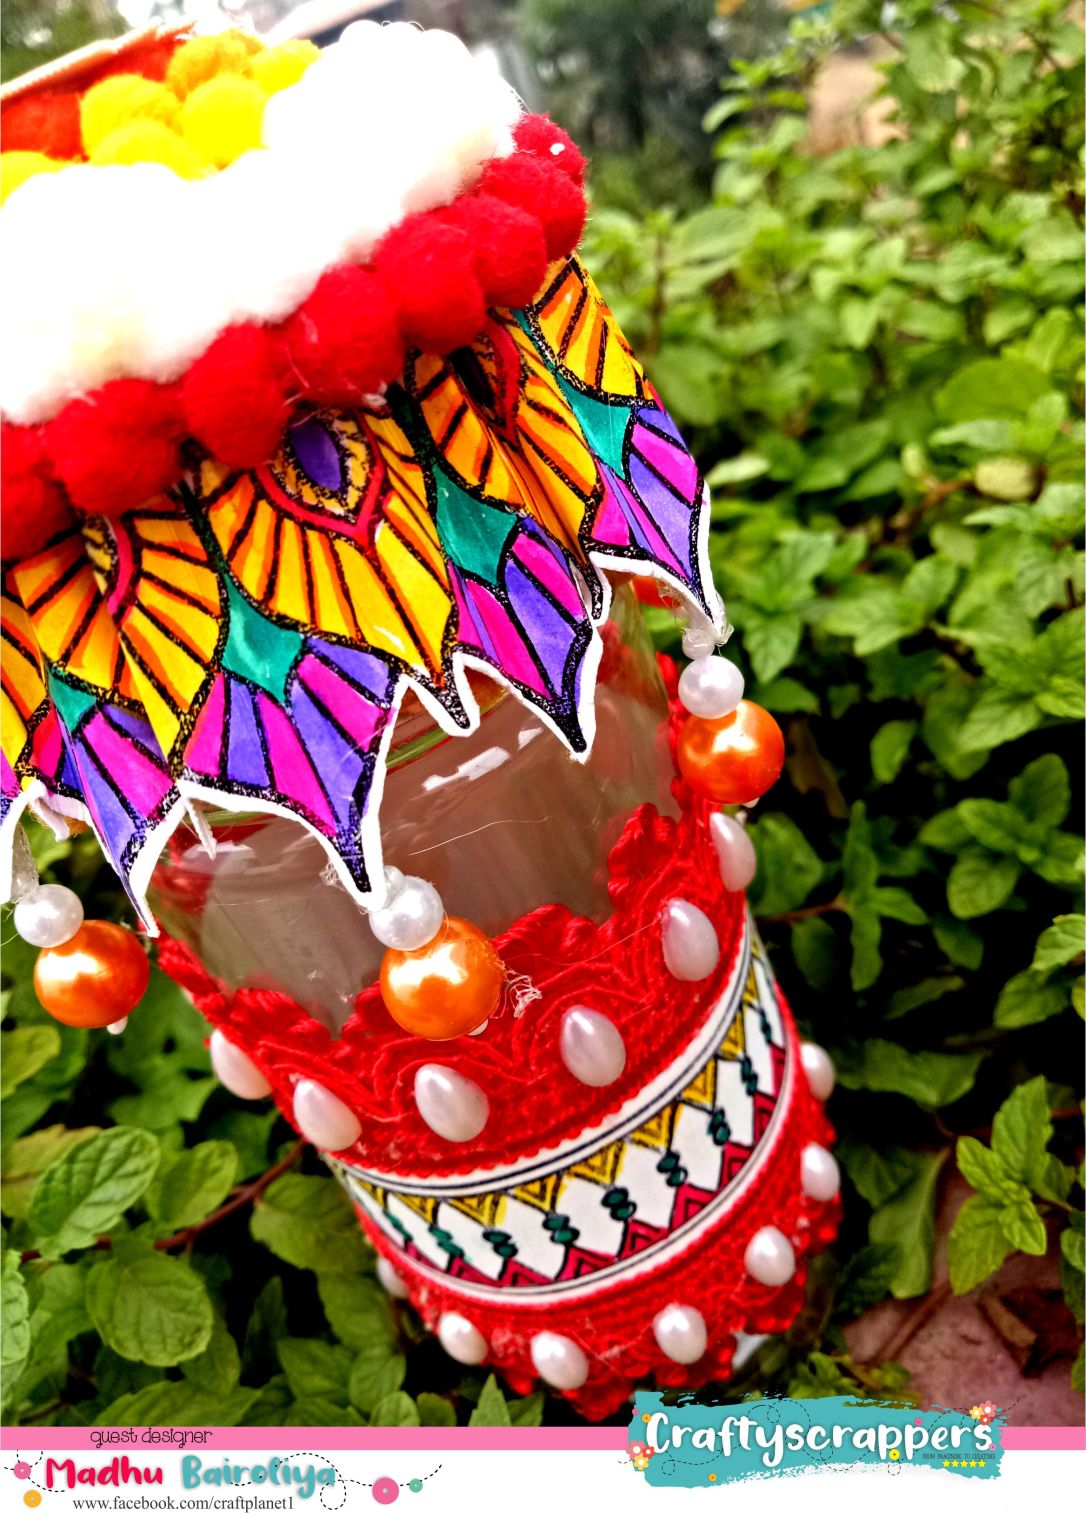
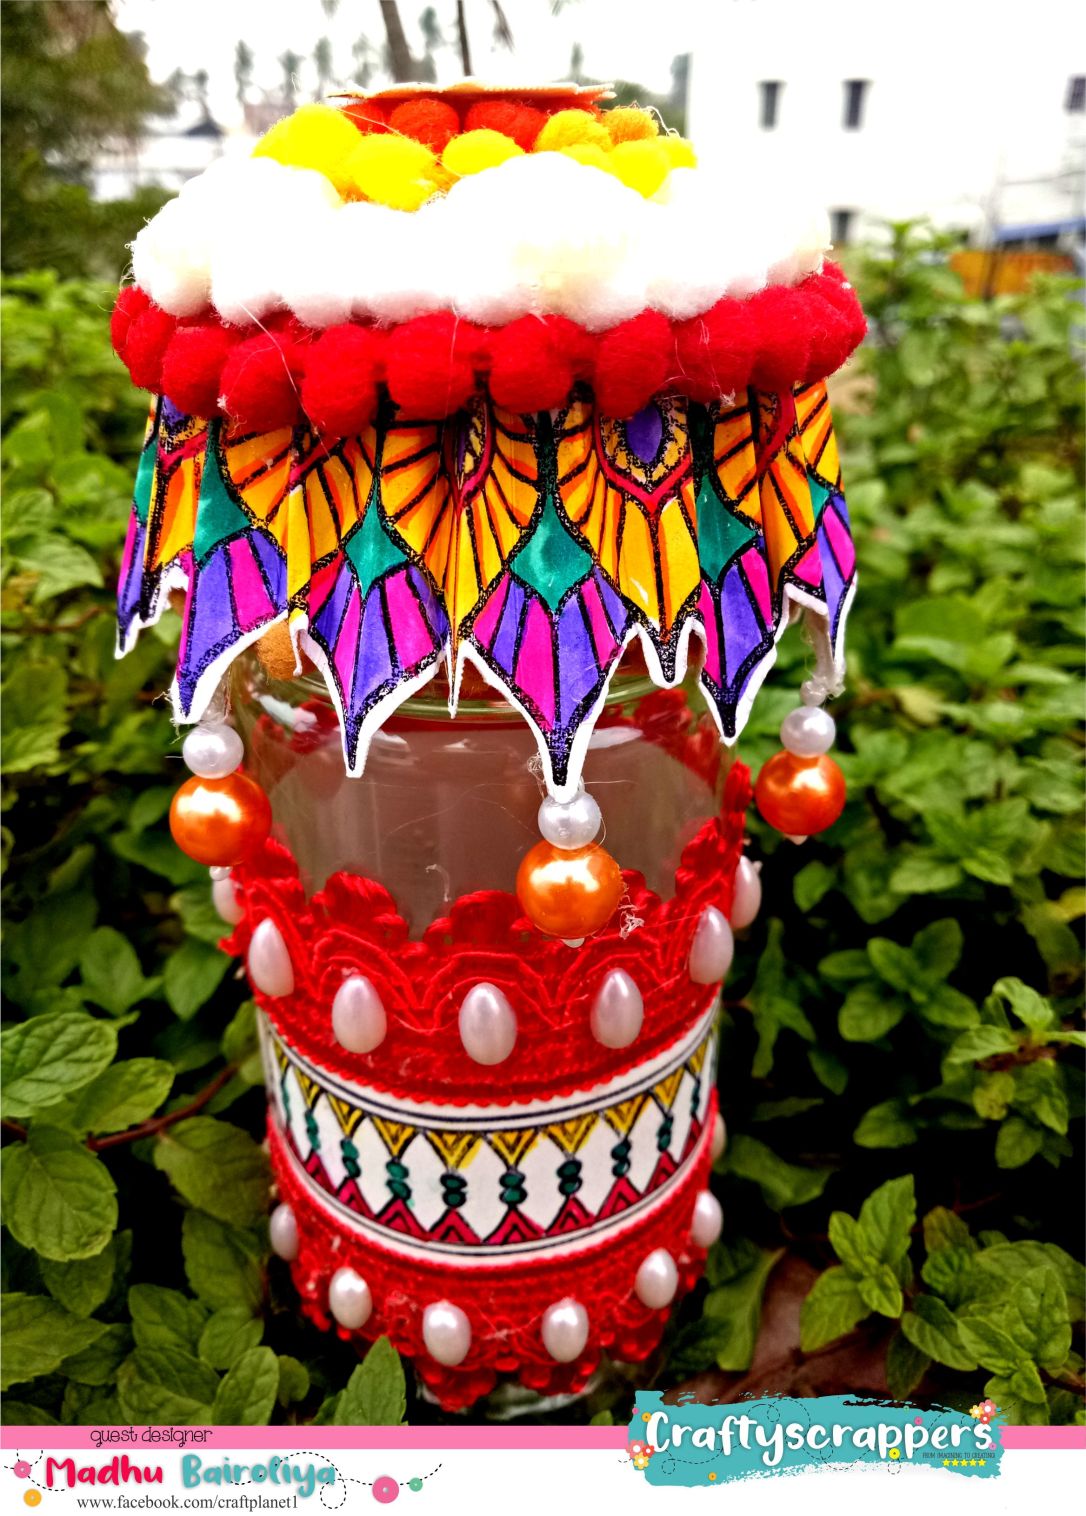
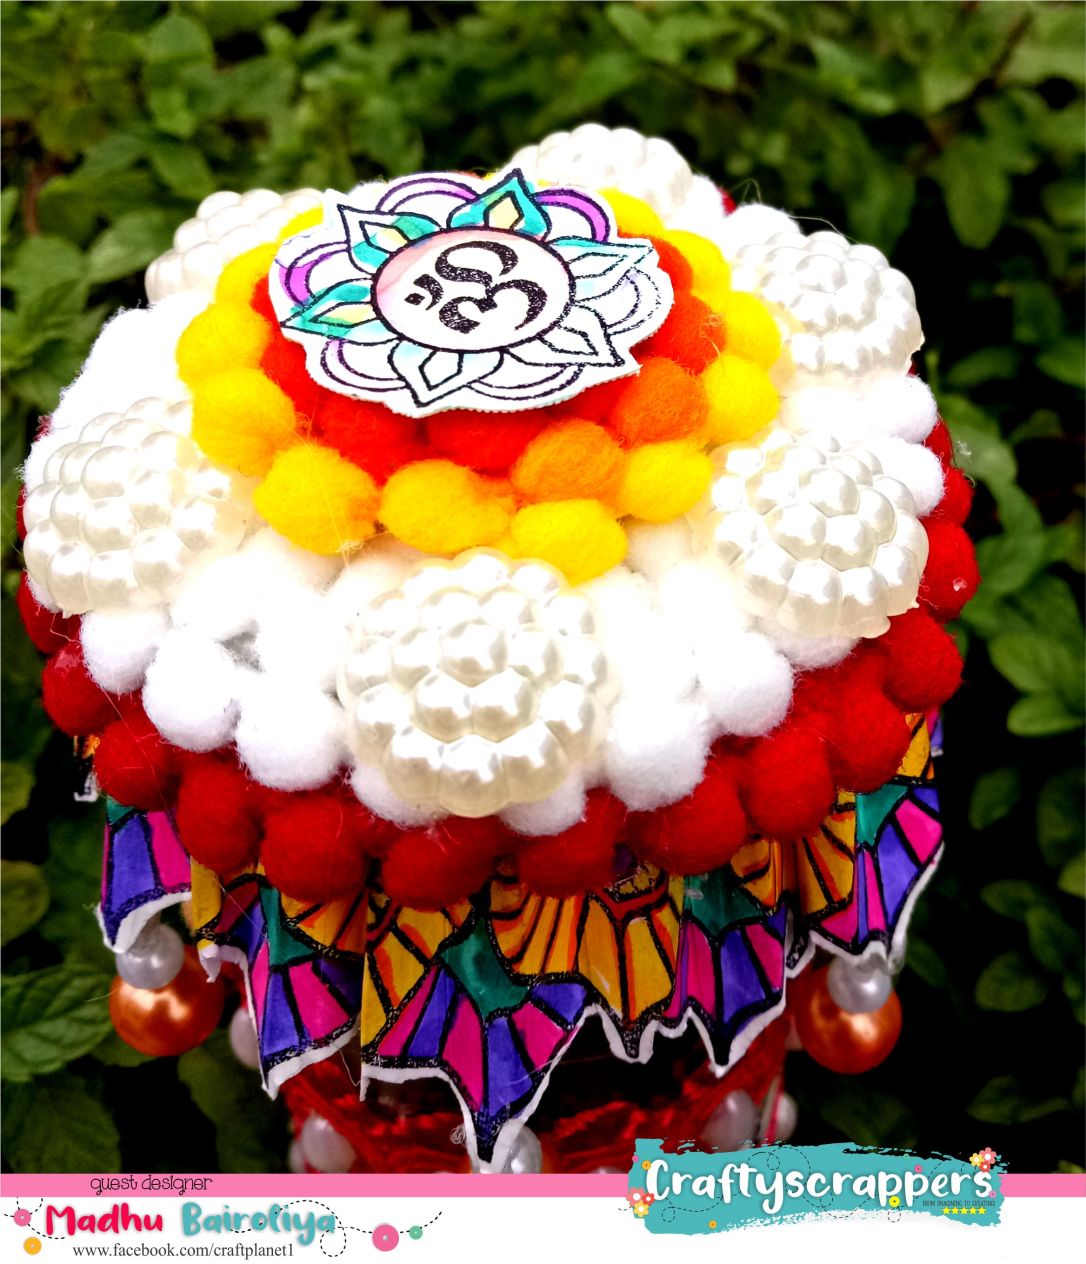
                        PROJECT#3: Altered plastic jar in festival dry fruit jar


CLOSEUP 1.jpg


CLOSEUP3.jpg


So That’s all from my end today.I hope you like this bright Fun and easy to make projects.Do check out craftyscrappers shop: http://www.craftyscrappers.into buy your craft supplies at the best prices!!!
Do leave some love and feedback below and I will be back soon for more inspirations!

Thanks for stopping by
Happy Crafting!
Madhu Bairoliya

Tuesday, 8 January 2019

Altered plastic jar into dry fruit jar

Altered plastic jar in dry fruit jar!


 Stamped which I used @craftyscrappers  border festiveborder
1.      Stamped and colored all the border with watercolor brush pens.
2.      Fussy cut stamped image
3.      Score at every one interval.
4.      Glued both ends together.


  • 5 Glued both end like figure 5
  • 6 colored another border.
  • 7 cut 4 pcs of circles bigger to small.
  • 8 Adhere all together with hot glue
  • 9 like figure 9.


  • 10 cover center of jar with red card stock.
  • 11 Glued lace top and bottom of red paper and in the middle colored stamped border.
  • 12 like figure 11 and 12
  • 13 Now I hanged pearl in rosettes. Figure 13
  • 14 Role pompom lace in circle.
  • 15 First glued chipboard circle cutout in rosettes.
  • 16 Glued this rosette on the lid with the help of hot glue.
  • 17 Glued white pompom in circle on top of the jar cap and decorate with red and yellow pompom too.
  • 18 Embellished with pearls.


ThankYou!
Please feel free to leave your comments.

Madhu Bairoliya