Thursday, 28 February 2019

YOU MADE MY LIFE BEAUTIFUL

"YOU MADE MY LIFE BEAUTIFUL"

Hello crafty friends!!!!
Today i am with valentine card 


I have taken card base 6x5.5
Take white card stock 6x11 and score at 5.5
 Distress with picked raspberry distress oxide all four sides. Take gray card stock smaller than white base distress with black shoot.adhere it on white base.


Take white card stock half inch smaller than gray card stock and distress the edges with scissor or distressing tool. take one more gray card stock smaller than it  
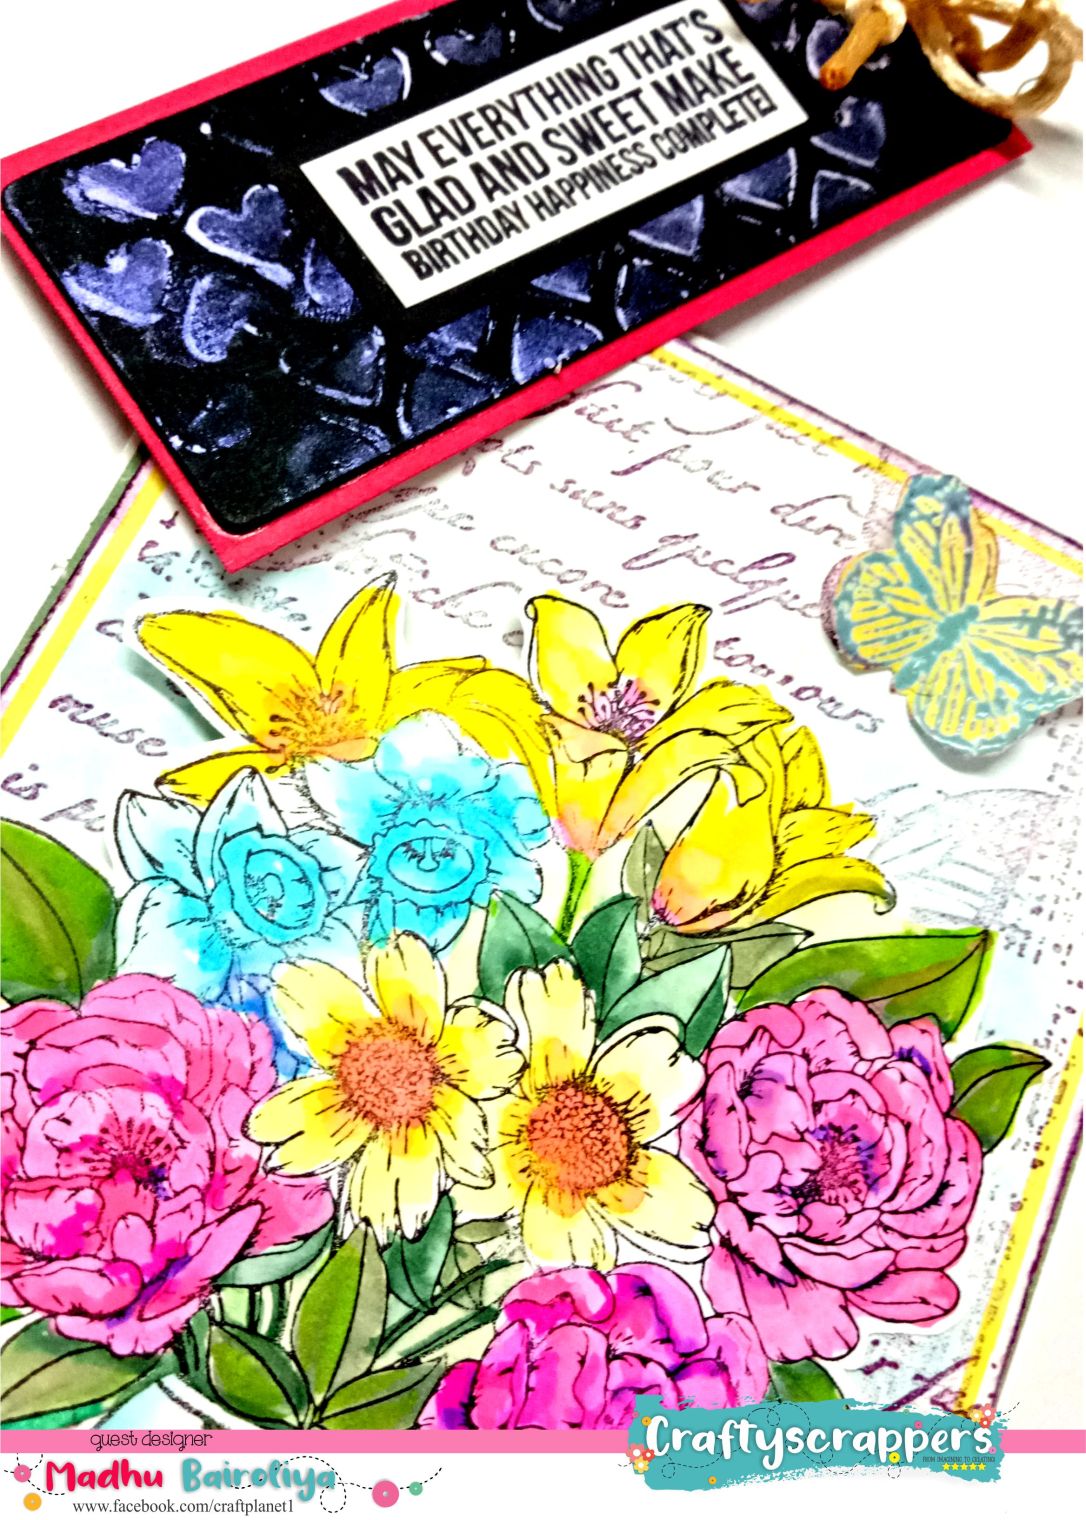
Use shimmer paste with heart craftyscrappers stencil.
distress the edges with black shoot. Adhere it on white cardstock


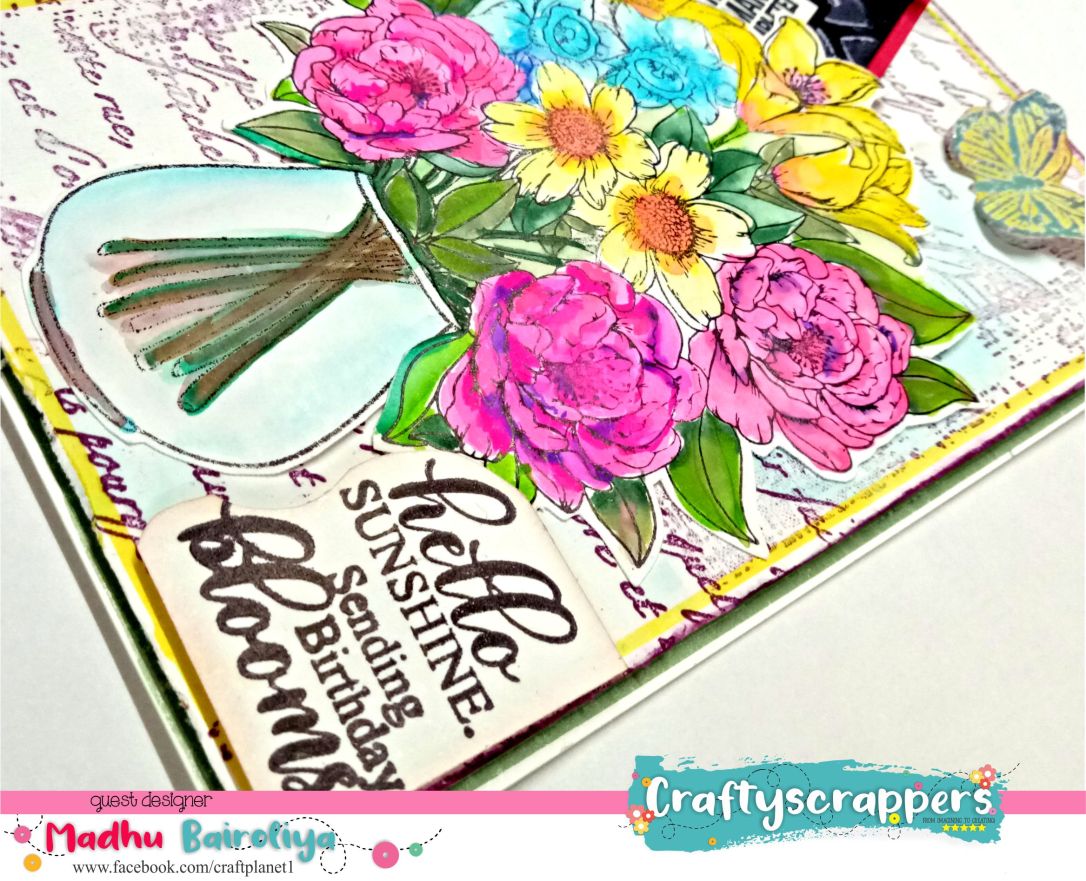
stamped image from my stash color with any water color medium pen fussy cut  adhere with dimensional tape for 3D look. Stamp sentiments fussy cut and adhere it.

I hope you liked this project.
Do let me know how you like this project in the comments below.Until then Happy Crafting ðŸ™‚

Hugs
Madhu Bairoliya


Saturday, 23 February 2019

Spiral burst You & Me card

             Hello crafty people!

Hello crafty people!
I hope you all are doing well.
This is Madhu Bairoliya Creative Designer at craftyscrappers
and today I am here with my inspiration post for our ongoing challenge…

CHALLENGE #28 ALL YOU NEED IS – LOVE

 So here is my creation:


                                         A brief tutorial:

  1. Take a white card stock set spiral-sunburst
    stencil on paper & create a background using “ink blending
    technique” 
  2. First blend TUMBLES GLASS on the craftyscrappers sunburst stencil  and then for deep shade blend MERMAID LAGOON.
  3. For second colour first wipe the stencil and reverse it
    and blend SEEDLESS PRESERVES distress ink .  
  4. Stamp the couple image from the stamp set YOU AND ME  Color & fussy cut it. 
  5. stamp the sentiment  on the created background sheet using versamark ink and add black embossing powder & heat set the same.
  6. Add  little hearts  to add some more interest to it. 
  7. Apply some shimmer  paste with brush back of the boy head and on colored rose.
  8. Adhere the couple image using dimensional
    tape (foam tape) & do the same for small Darling sentiment 
  9. And the card is ready.   
                                                          
                                                                     Here are some close-ups:


            This is all from my side. 

I hope you liked this project.
Do let me know how you like this project in the comments below.Until then Happy Crafting ðŸ™‚
Don’t forget to join in  craft challenges

You can  participate via Facebook, Instagram and even via email.
(While sharing your creation post over the social media, ie
Facebook/twitter/Instagram
please use #Craftyscrapperschallenge28 to qualify for submission,
failing to do so, the entry would be disqualified.) 

Thanks for stopping by.

Have a crafty day ahead !                           

Tuesday, 5 February 2019

Cards and Altered Art

Cards and Altered Art

FUN TO MAKE PROJECTS FOR

 Hey there crafty people ðŸ™‚ 
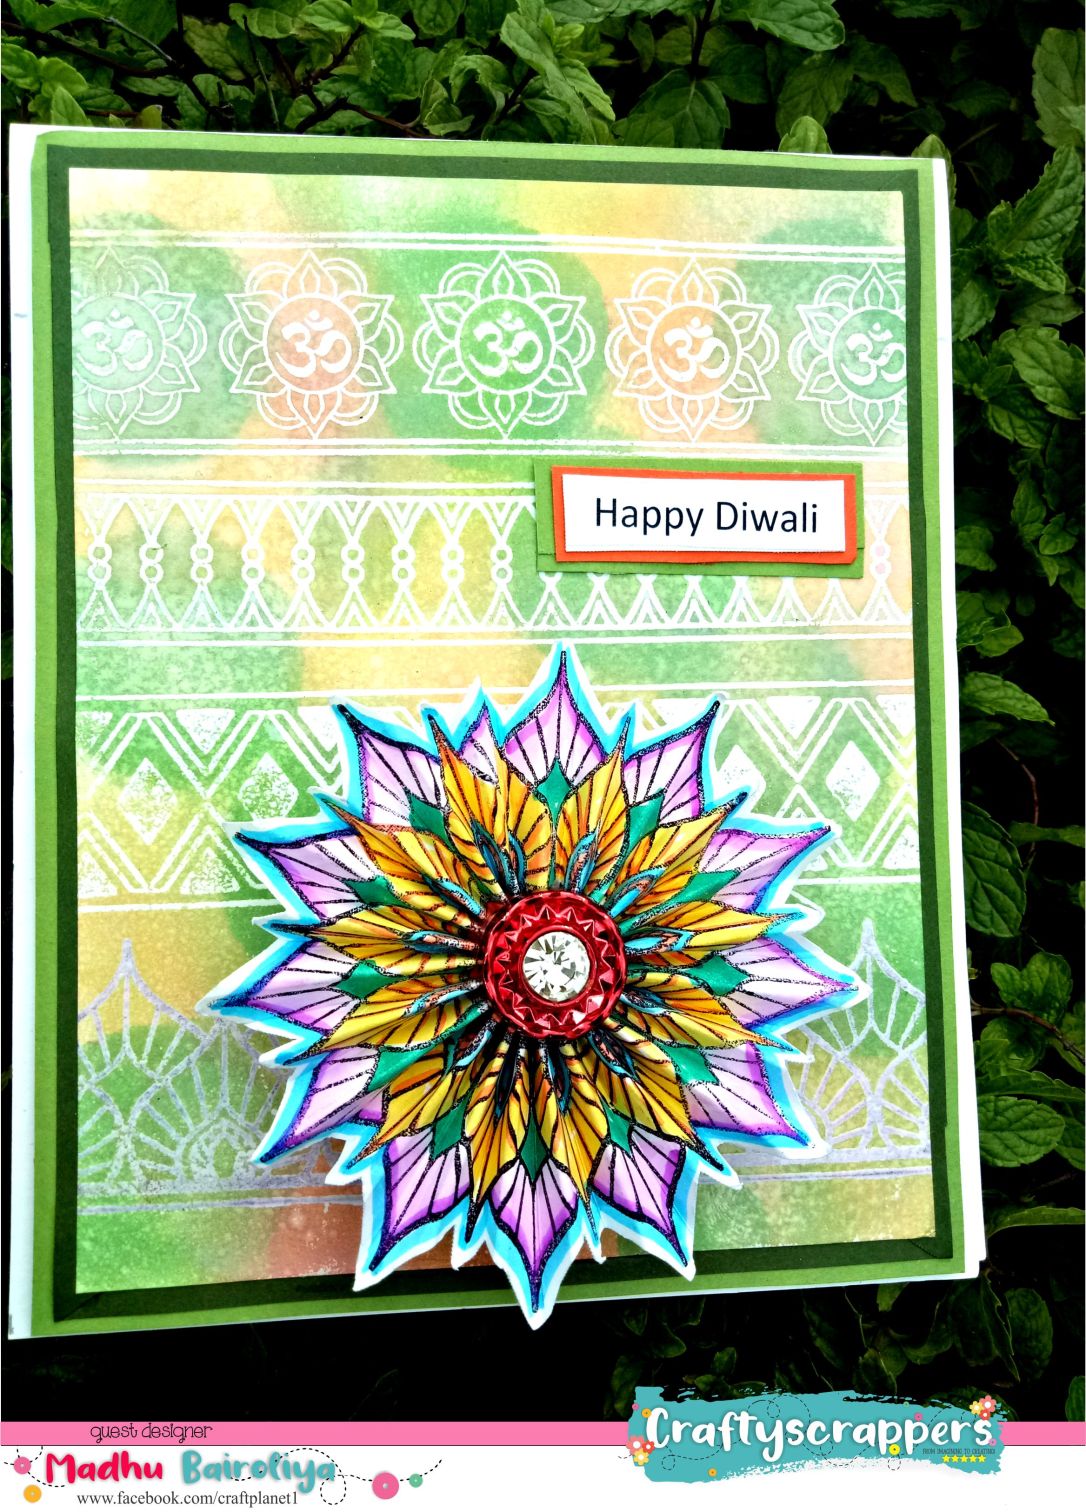
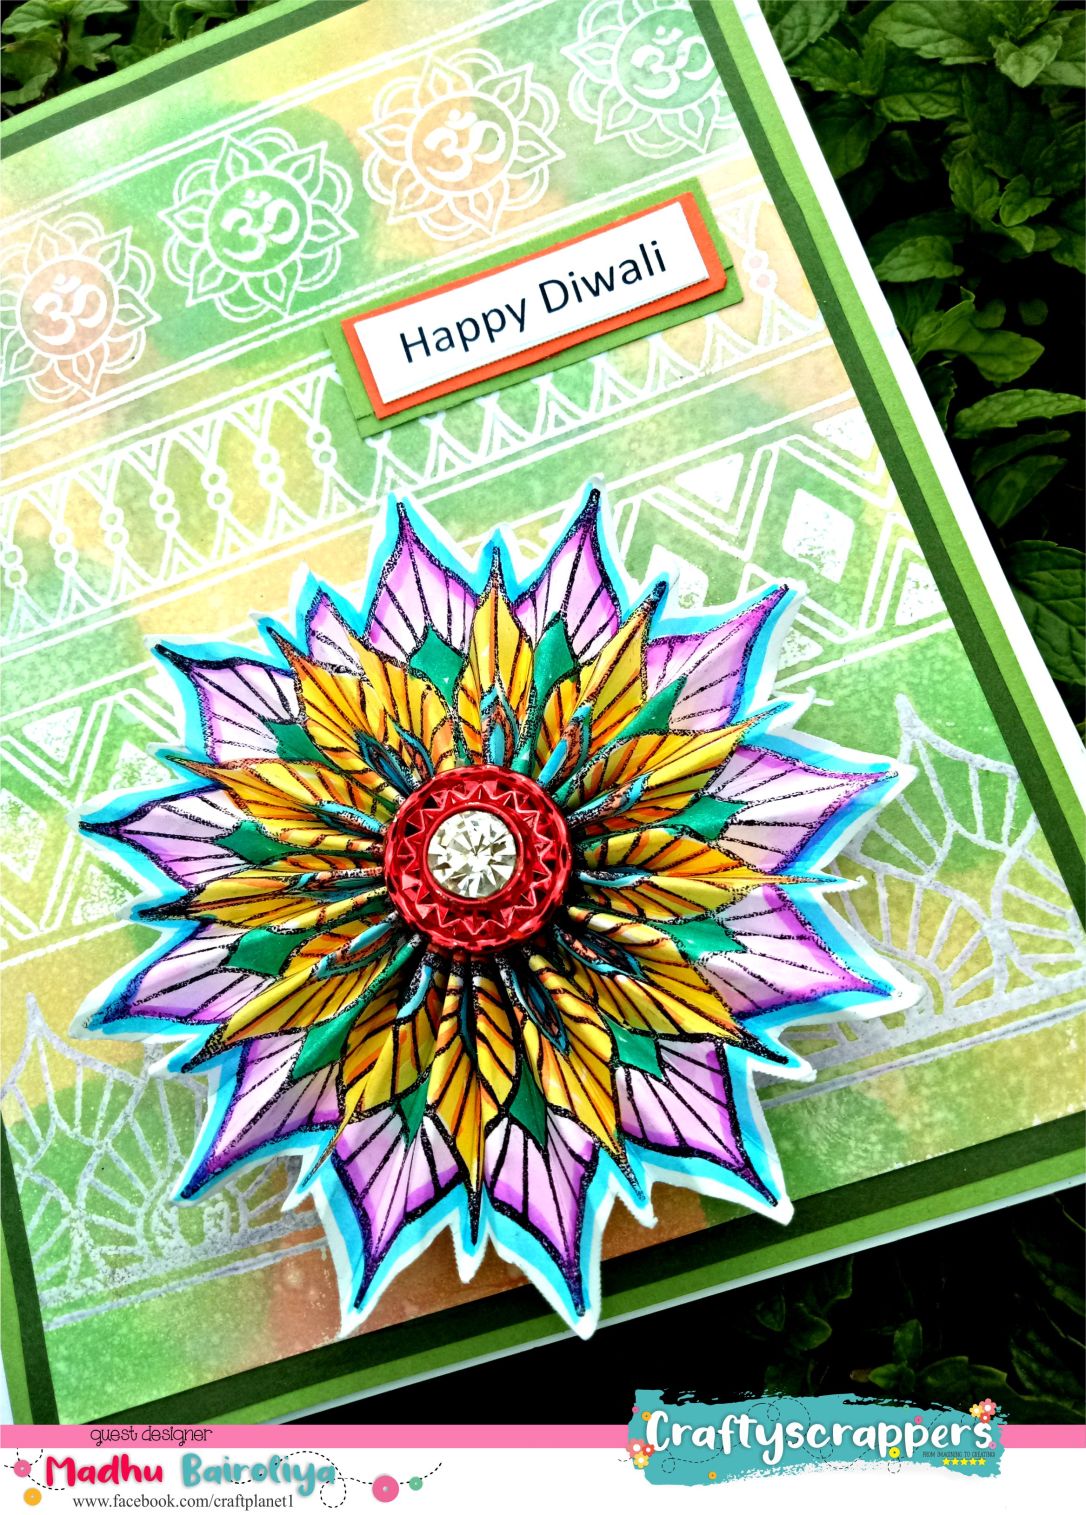
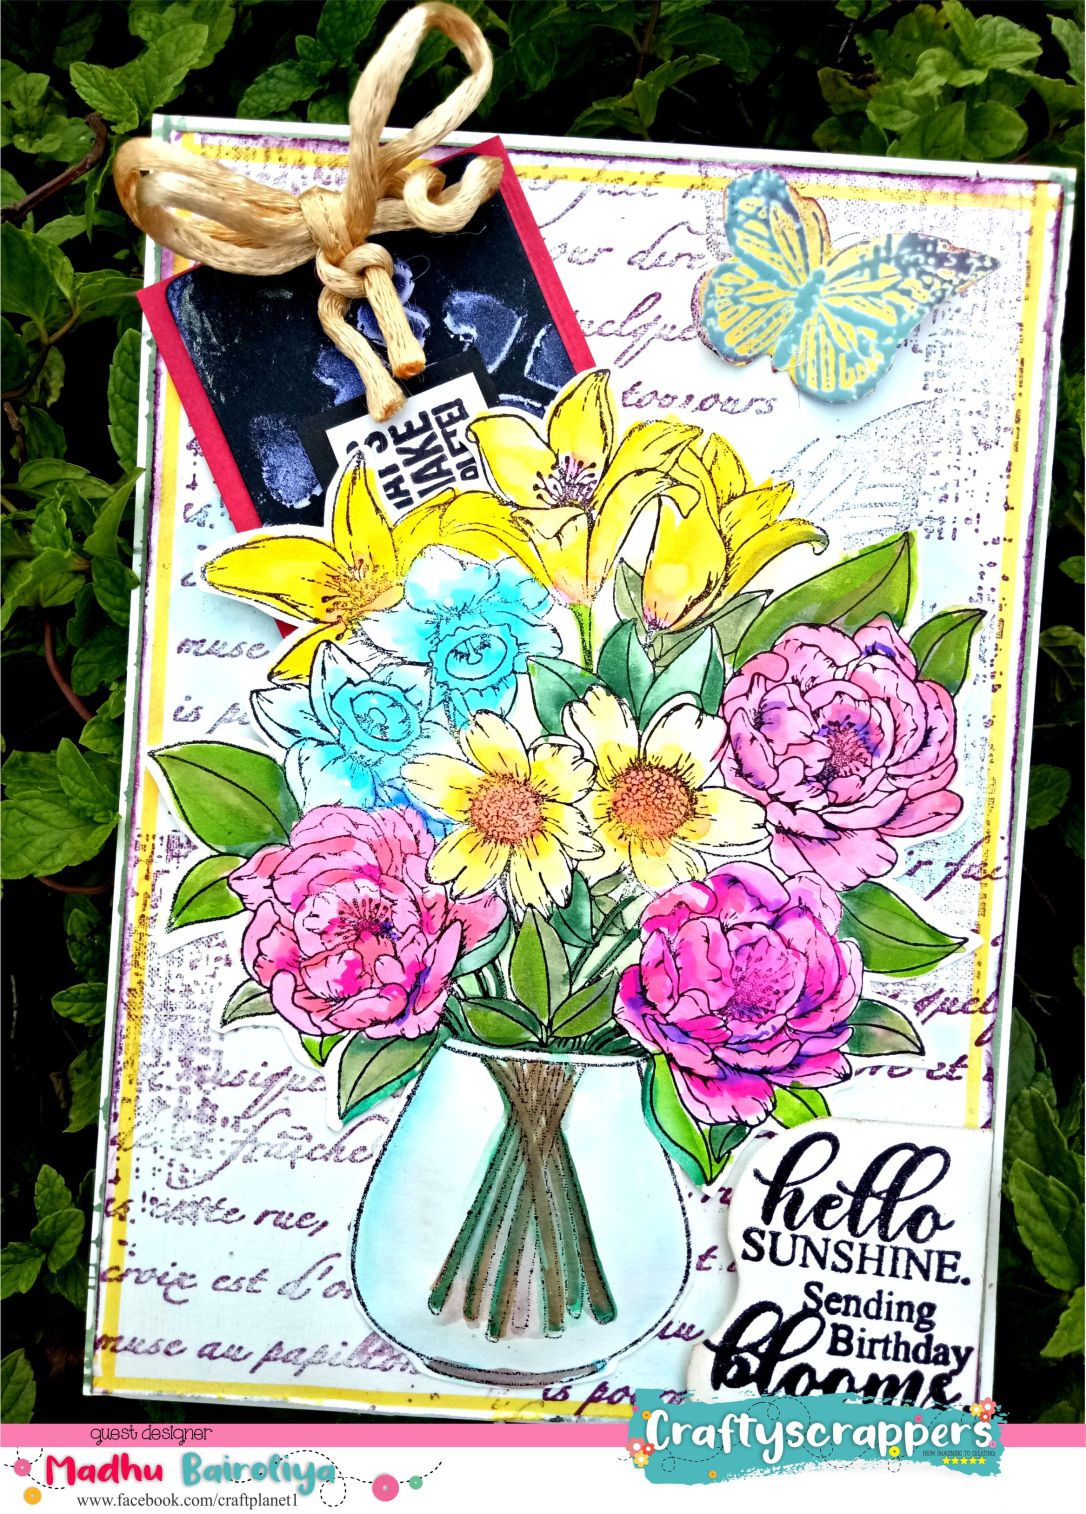
This is Madhu and today I’m here as a Guest designer to share three easy and fun projects with you all. 
We all know that @craftyscrappers always come up with high quality clear stamps which has unique designs with so many possibilities and with just one single stamp set, there are endless possibilities to use them to create numerous cards and crafts.
These designs are so perfect, that you can use them in cardmaking or mixed media creations or even scrapbooks and tags.

guest designer final watermark.jpg


final 3.jpg
CLOSEUP2.jpg
IMG20181020112746.jpg
IMG20181016131116.jpg


IMG20181016131134.jpg


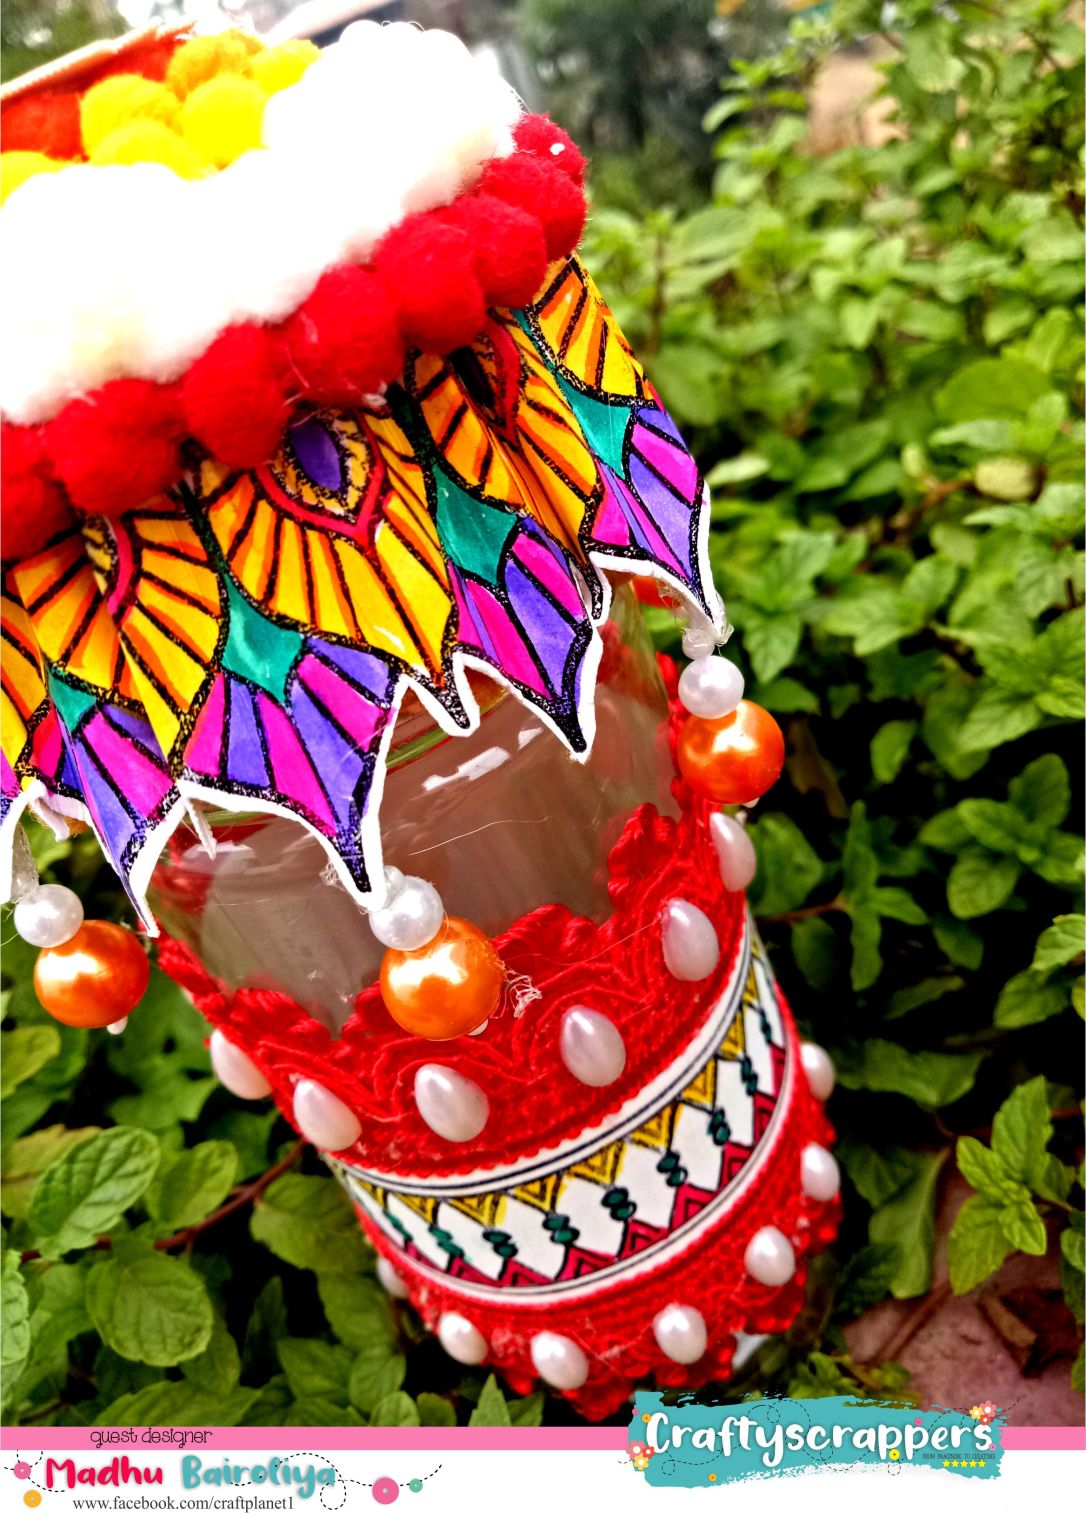
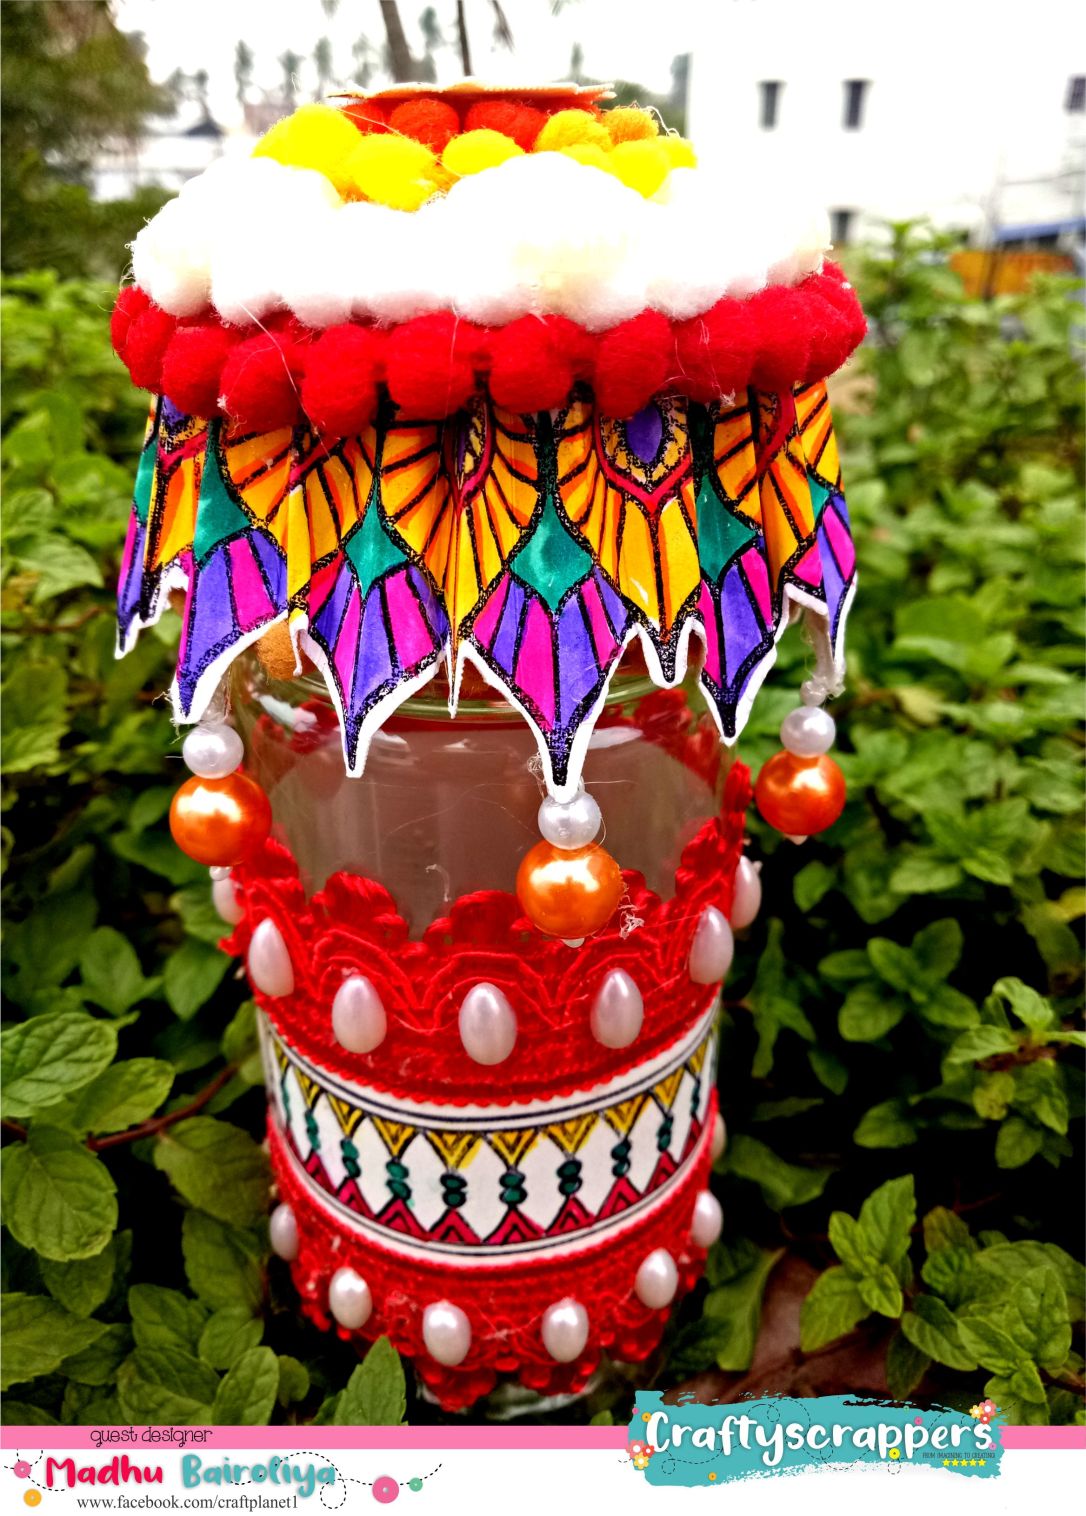
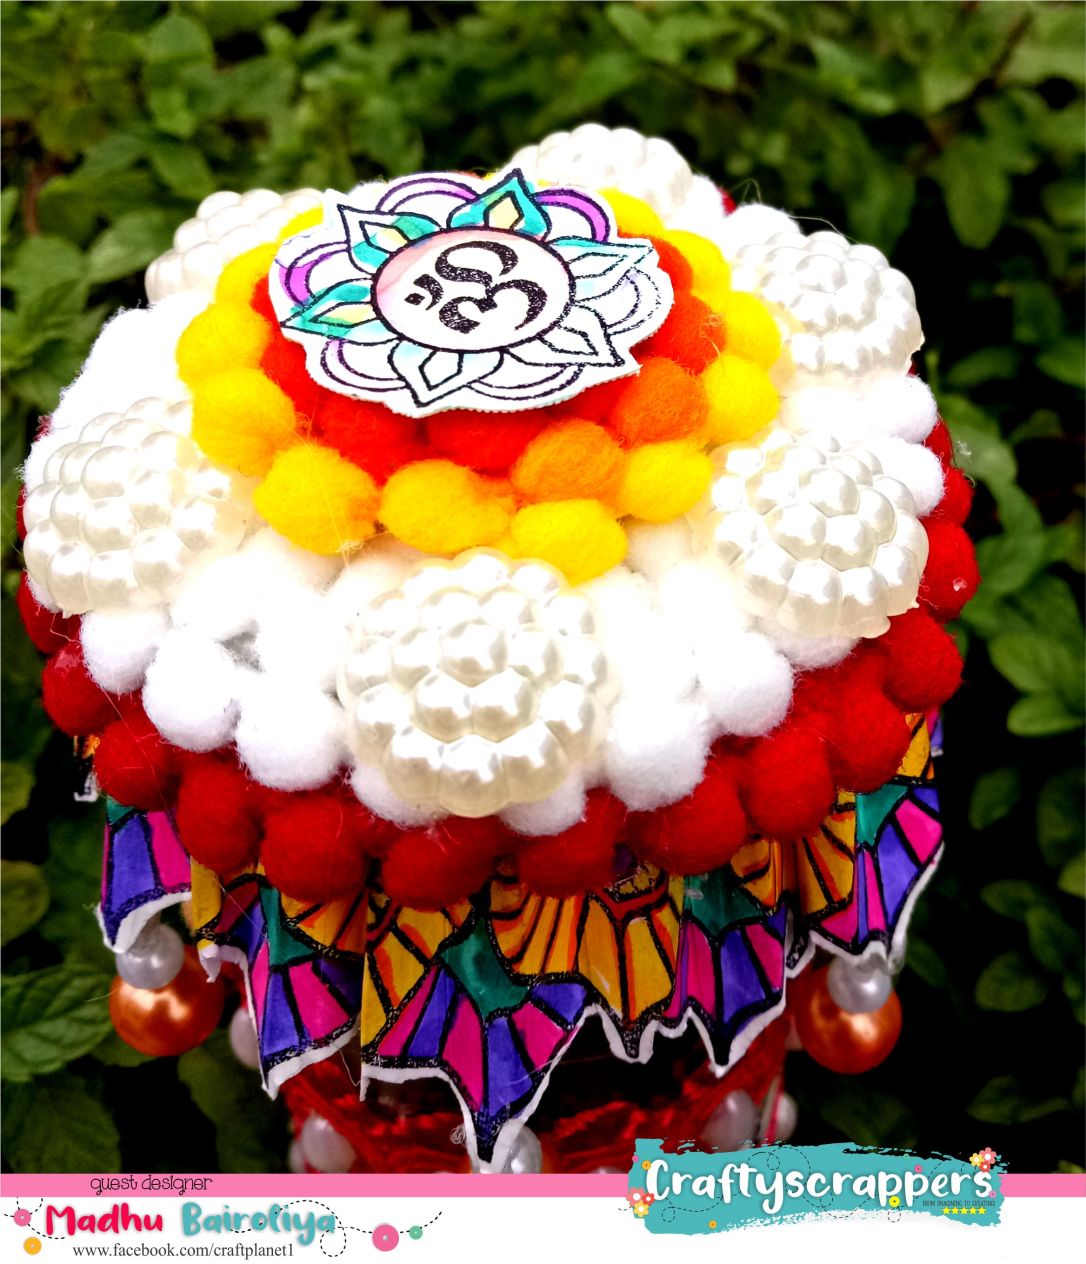
                        PROJECT#3: Altered plastic jar in festival dry fruit jar


CLOSEUP 1.jpg


CLOSEUP3.jpg


So That’s all from my end today.I hope you like this bright Fun and easy to make projects.Do check out craftyscrappers shop: http://www.craftyscrappers.into buy your craft supplies at the best prices!!!
Do leave some love and feedback below and I will be back soon for more inspirations!

Thanks for stopping by
Happy Crafting!
Madhu Bairoliya